While the iPhone allows you to take amazing photos with a simple tap of the screen, there are a whole range of accessories available to enhance your shooting experience. As you become more serious about your iPhone photography, you may want to add a few of these tools to your collection. In this article, you’ll discover the most essential iPhone camera accessories you’ll need to take your photography to the next level.
Before we look at some of the most popular and effective products, it should be noted that it’s very easy to become caught up in the world of “gadgets” for iPhone photography.
Simply having any or all of these accessories will not immediately make you a better photographer. Some of the items will help to give you more flexibility in your creativity while others simply provide a greater level of convenience.
Let’s now take a look at some of the most essential accessories that will benefit you as an iPhone photographer.
1. Tripod
A tripod is arguably the single most important accessory that you can own as a photographer – mobile or otherwise. A tripod is essential for long exposures and for self-portraits. But with so many options, how do you choose the best iPhone tripod for you?
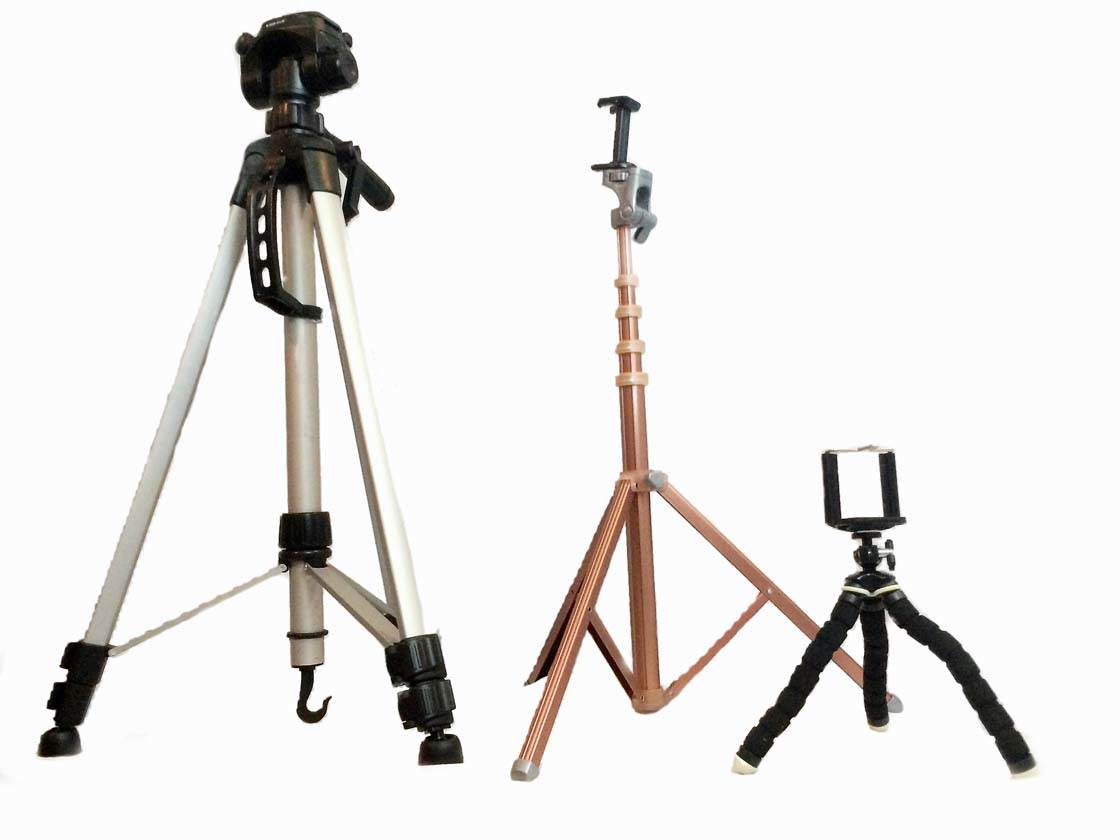
If you wish to keep to the “mobile” ideal of mobile photography, you may want to consider smaller, lightweight versions that you can easily pack into your bag to keep with you.
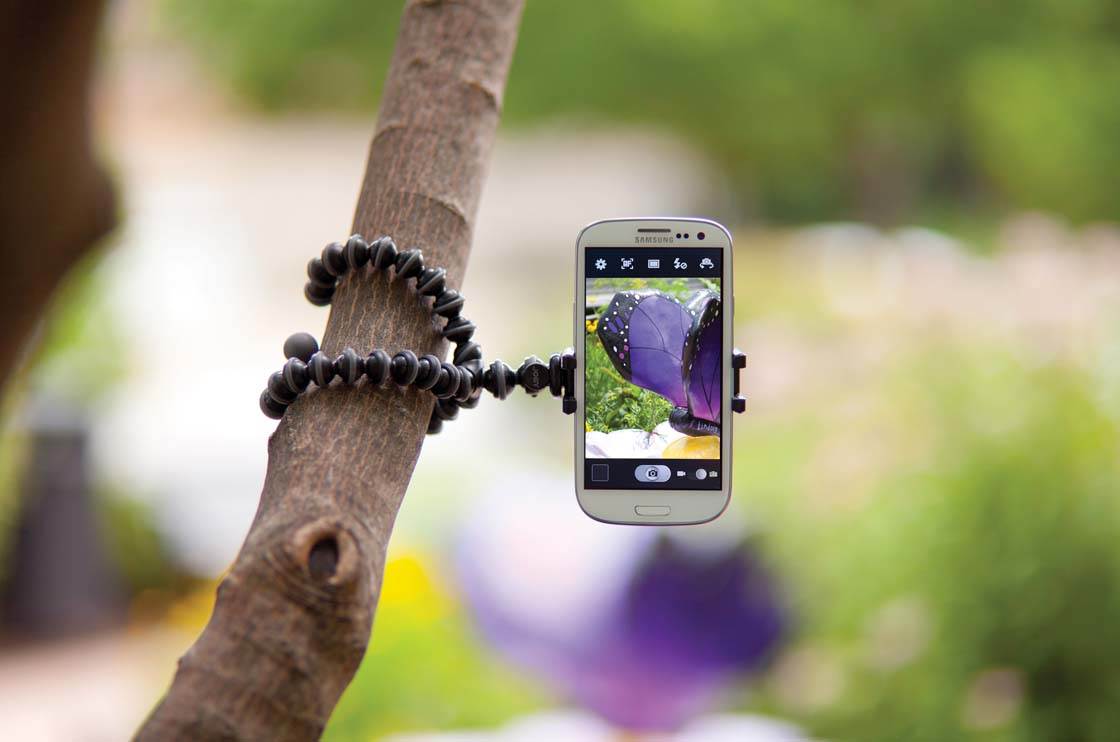
There are great options from Joby, such as the GripTight Gorillapods (several different models available). These tripods are extremely compact, yet very flexible and highly useful.
As you can see in the image above, you can wrap them around objects such as poles, trees and fences to brace your iPhone for taking photos. The newer models even have magnetic feet for sticking to metal surfaces.
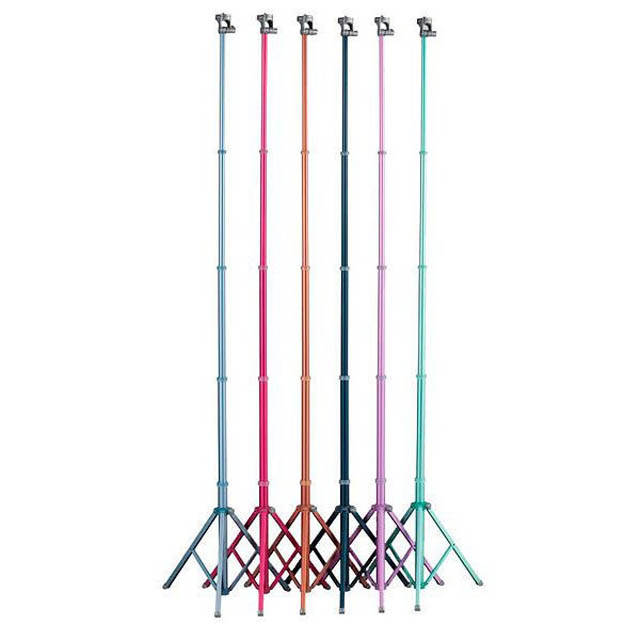
Another great lightweight option is the Lollipod tripod as shown above. This is my personal go-to tripod for mobile photography as it’s very light and collapses down to a really small size to fit in any backpack.
I also use the Lollipod at home in my makeshift studio as its lightweight nature makes it easy to move around in a tight space.
If you already have a tripod that you use for other photography and/or videography, you can simply use that (assuming that you don’t mind the extra weight).
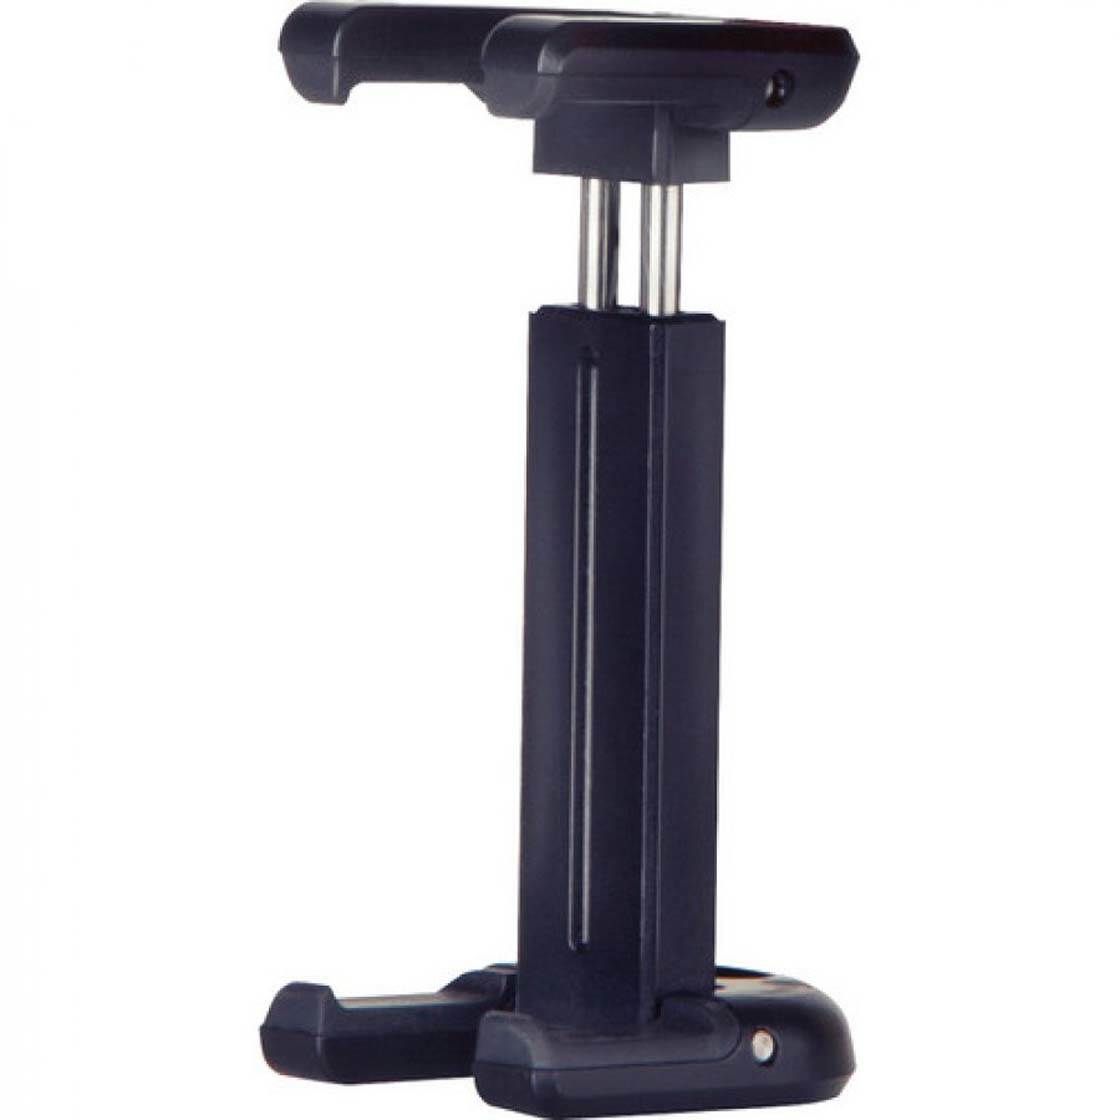
However, you will likely need to buy an iPhone tripod mount such as the Joby GripTight Mount as shown above. This allows you to attach your iPhone to any standard tripod mount.
2. Remote Shutter Release
While you can certainly make use of your iPhone camera’s self-timer to give yourself time to get into the shot for self portraits, or to minimize camera shake during long exposures, an even more effective method involves a remote shutter release.
By using a remote shutter release, you have even more control over when the shot is taken as you’re not limited by the self-timer settings. You can snap the photo whenever you’re ready.
The easiest remote shutter release actually came with your iPhone! That’s right, the EarPods that come with all new iPhone models include a built-in button for controlling the volume of your iPhone (particularly for music playback).
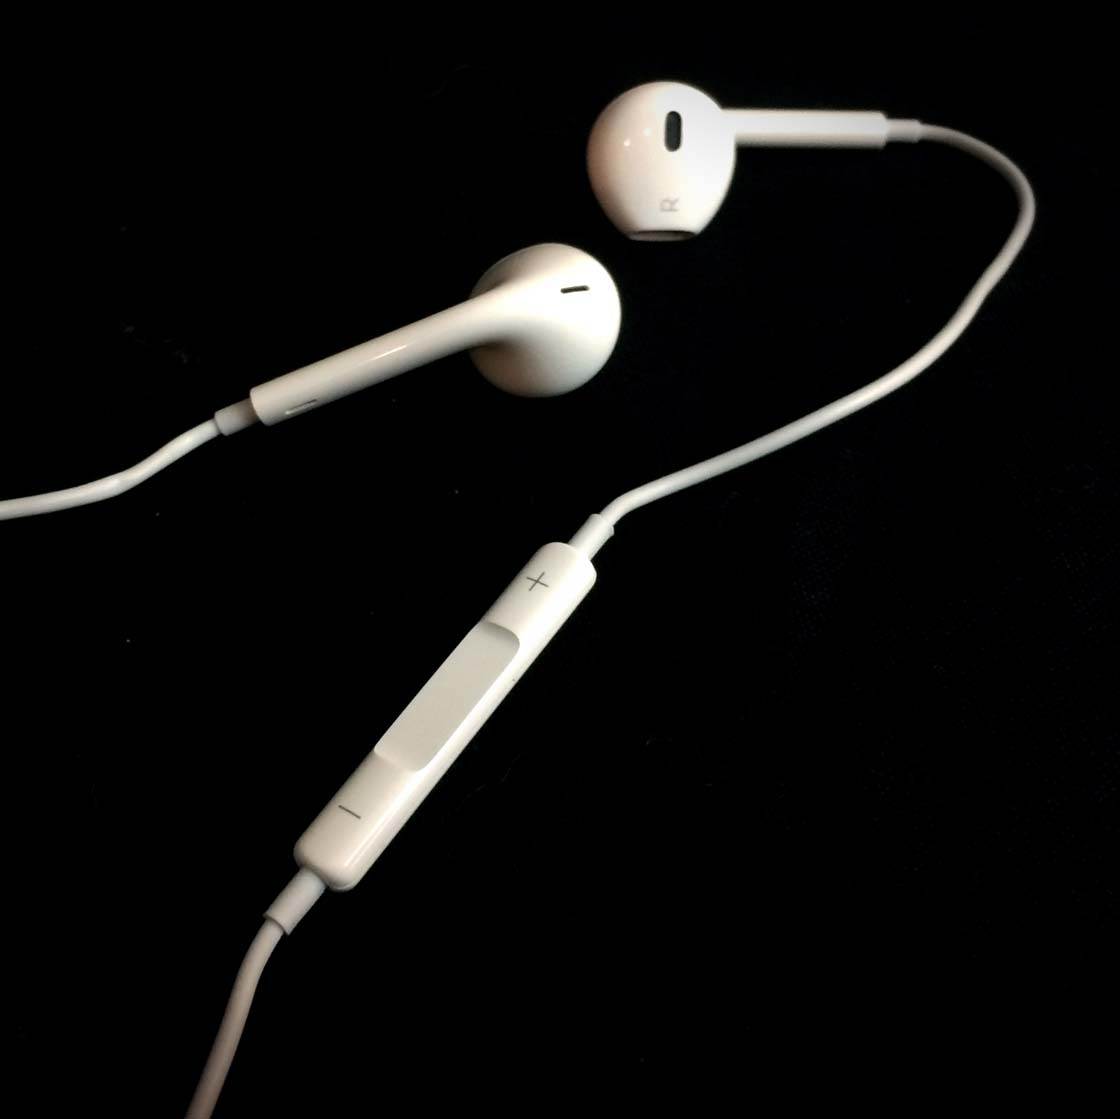
However, as many camera apps allow for the use of the iPhone’s volume buttons to control the shutter release, this means that you can use the volume controls on the earbuds in the same manner.
Simply plug the EarPods into your iPhone before setting up the shot (likely using some sort of tripod), and then press the volume “+” button to fire the shutter release.
While using the volume control on your EarPods is effective and inexpensive, there is one major drawback in that the standard EarPods that come with an iPhone are fairly short, so you need to be rather close to your iPhone in order to make this work.
Therefore, this technique may be better suited for long exposures when you can stand right next to your iPhone, but want to minimize camera shake.
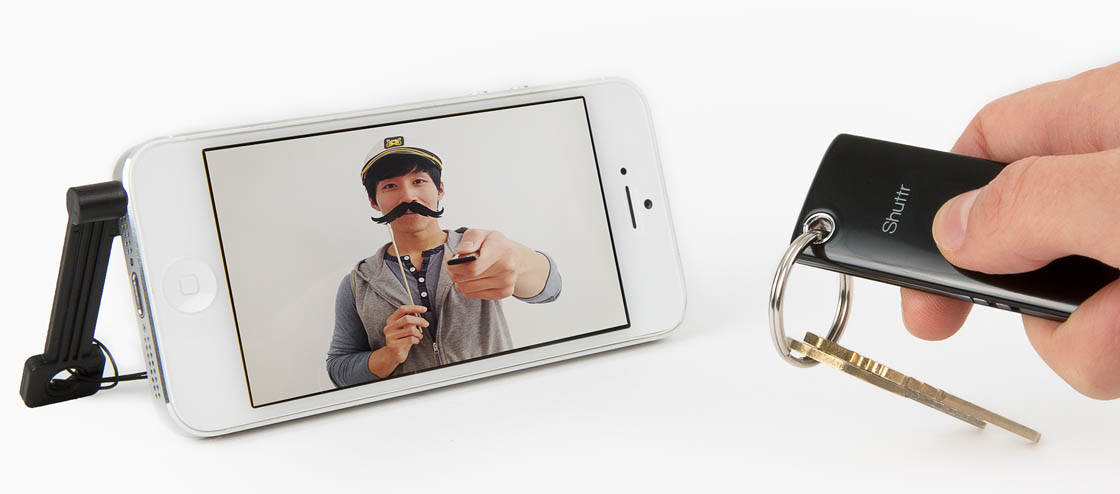
For self-portraits, a better option is a wireless remote shutter release such as the Muku Shuttr. This works like other wireless shutter releases for DSLR cameras, much in the same way that a TV remote control works with your TV.
The only difference with the Muku Shuttr is that it connects to your iPhone and controls the shutter release via BlueTooth. For full control over your self portraits, there is no better option than a wireless remote shutter release.
3. External Battery/Charger
If you tend to always carry a full bag/backpack of gear, then it would be prudent to also carry a plug-in charger in case you find yourself in a coffee shop or other location where you have access to AC power.
However, assuming you don’t always have easy access to AC power to recharge your iPhone, you may also wish to consider a DC power option, which you can carry with you at all times for on-the-go charging.
Luckily, like with tripods, there are many options available depending on your needs and budget. The simplest and cheapest external batteries will only charge your iPhone 1-2 times (if that) before they need charging up again.
But they’re small enough to fit in your pocket, thereby making them very easy to carry. The larger ones are still quite reasonable in size, but you may want to keep it in your backpack or other bag as they will be a bit too big to carry in your pocket.
The larger batteries/chargers can be capable of charging your iPhone up to 6 times before the external battery needs charging. This may be overkill for most photo-taking excursions, but it can be a great asset if you’re going camping or will otherwise be without easy access to an AC charger for a few days.
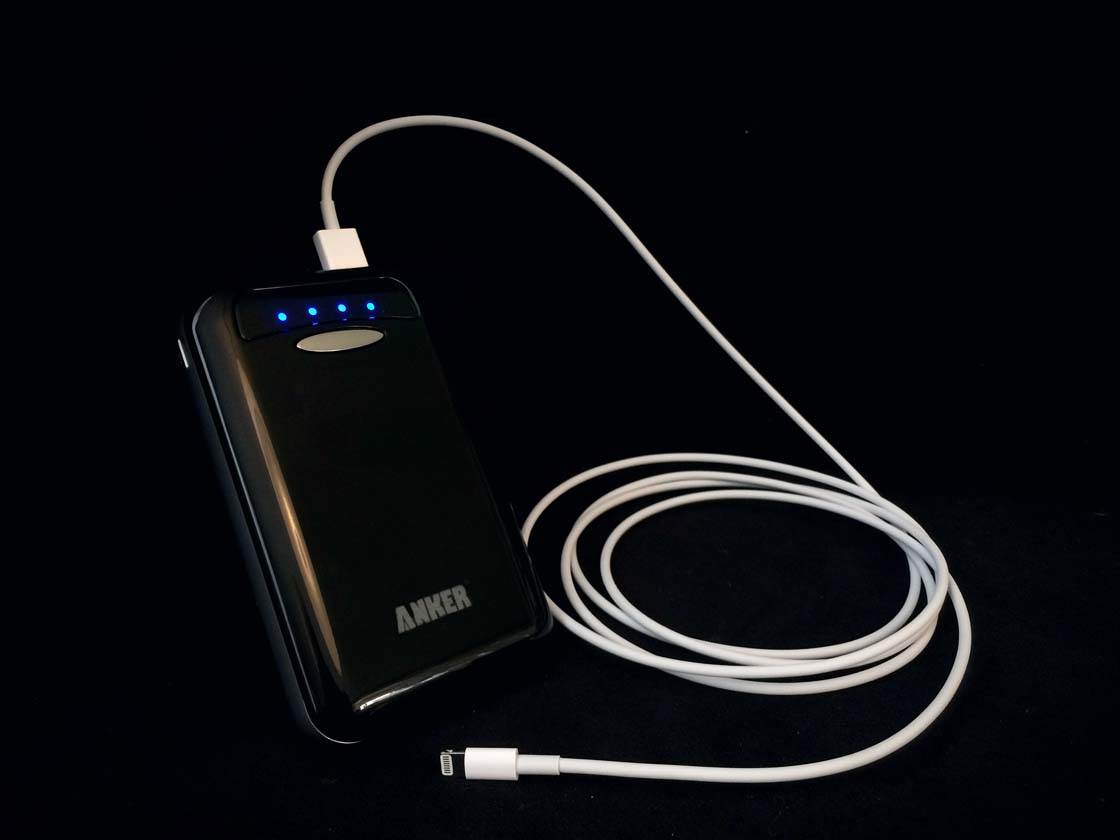
What I often do when on an all-day photowalk is to keep my Anker E5 external battery (as shown in the photo above) in my backpack, and plug into it with a 6-foot Apple cord when my iPhone’s battery gets below 20%. This allows me to keep shooting while simultaneously charging my iPhone.
In addition to Anker, other popular and effective brands to consider are Jackery and EasyAcc. Again, there are so many brands to choose from, so it’s best to take a few minutes to consider your needs and then research the various models that are available to determine which one(s) best fit your requirements.
4. External Lenses
A great way to bridge the gap between mobile photography and DSLR photography is to use one or more of the many great external, add-on lenses that are available.
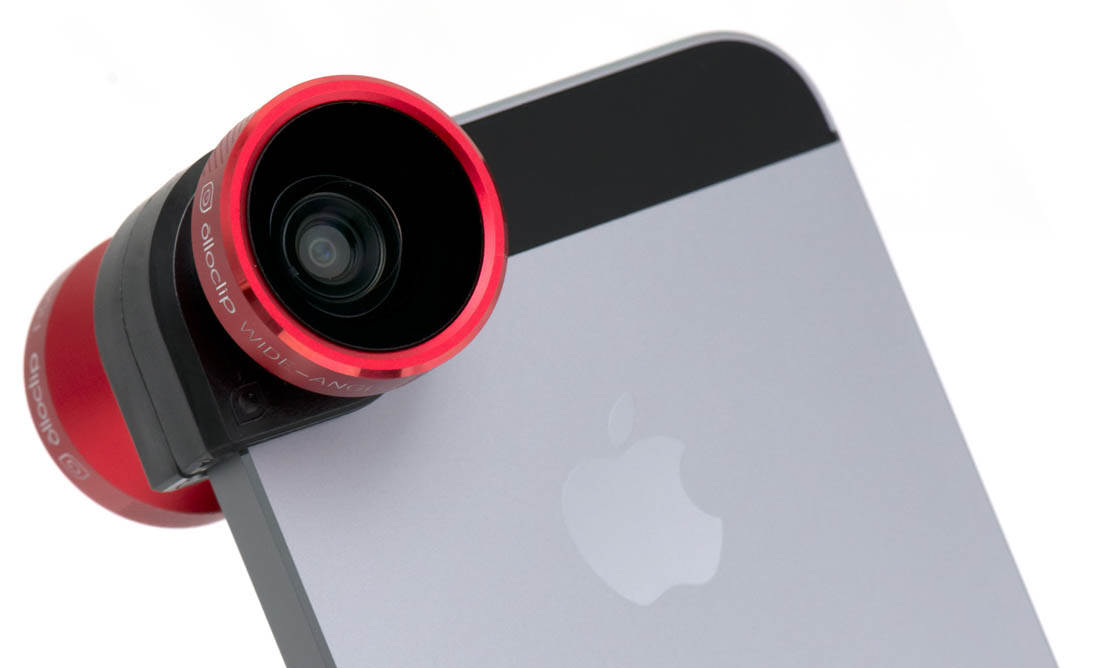
One of the most popular options are the lenses from Olloclip. These are compact, easy to attach, and provide great results.
Olloclip offers several different options including wide angle, telephoto, macro and polarizer lenses – for most iPhone models, including the iPhone 7 and 7 Plus. If you don’t know where to begin, a great place to start is the classic 4-in-1 lens combo.
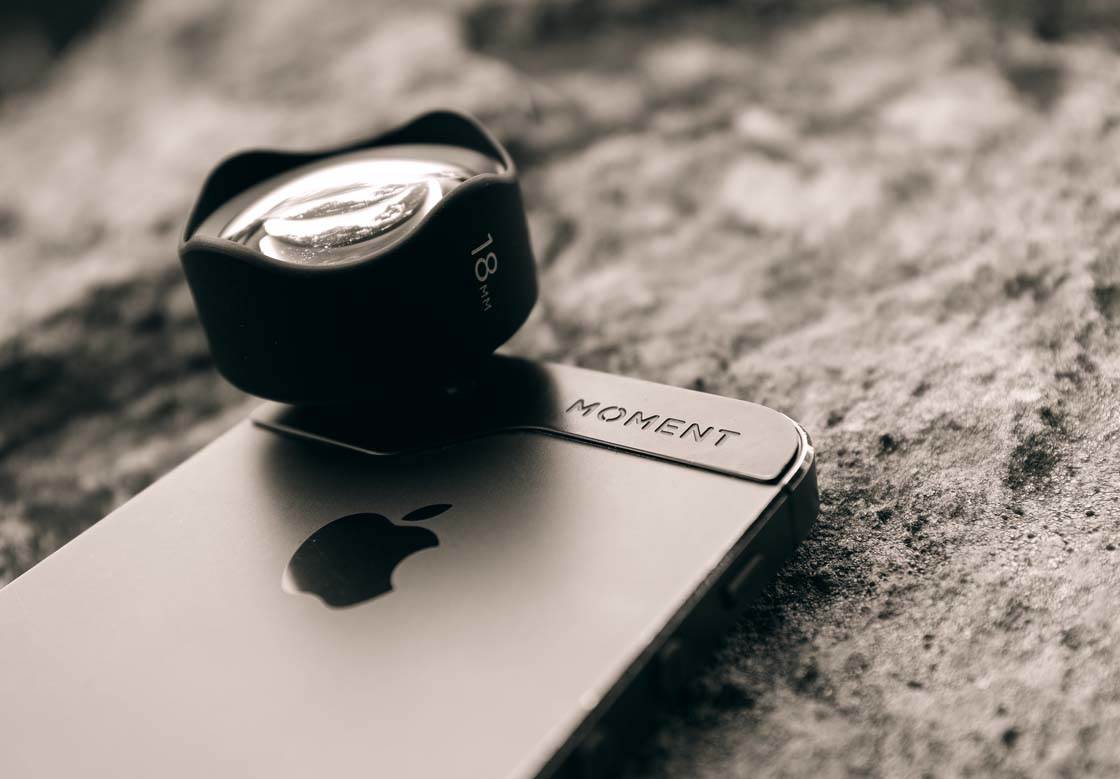
If you want to up your game when it comes to optics, then you may want to consider a more premium lens option such as those from Moment Lenses.
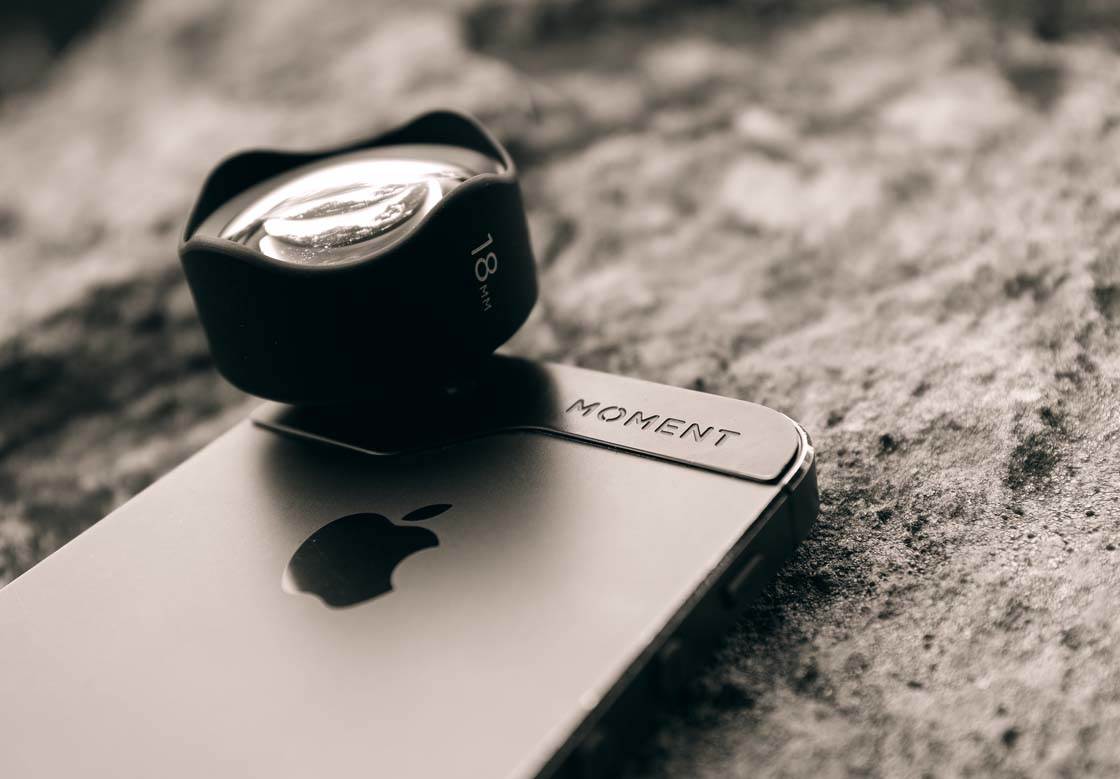
These lenses are much more expensive than the Olloclip ones, but the quality is arguably much better thanks to higher-grade optics. In particular, Moment lenses also feature minimal distortion even in the wide angle lenses.
Other options for add-on lenses are available as well. As with any gear purchase, I highly recommend reading as many reviews as you can before investing in add-on lenses to help ensure that you’re happy with your purchase.
If you can find a way to try out a few different lens types via friends, that’s an even better way to make an educated purchase.
5. External Light Source
In low-light situations, the iPhone’s built-in flash can work in a pinch. However, most of us have experienced its limitations firsthand – typically harsh light, lack of power adjustment, etc.
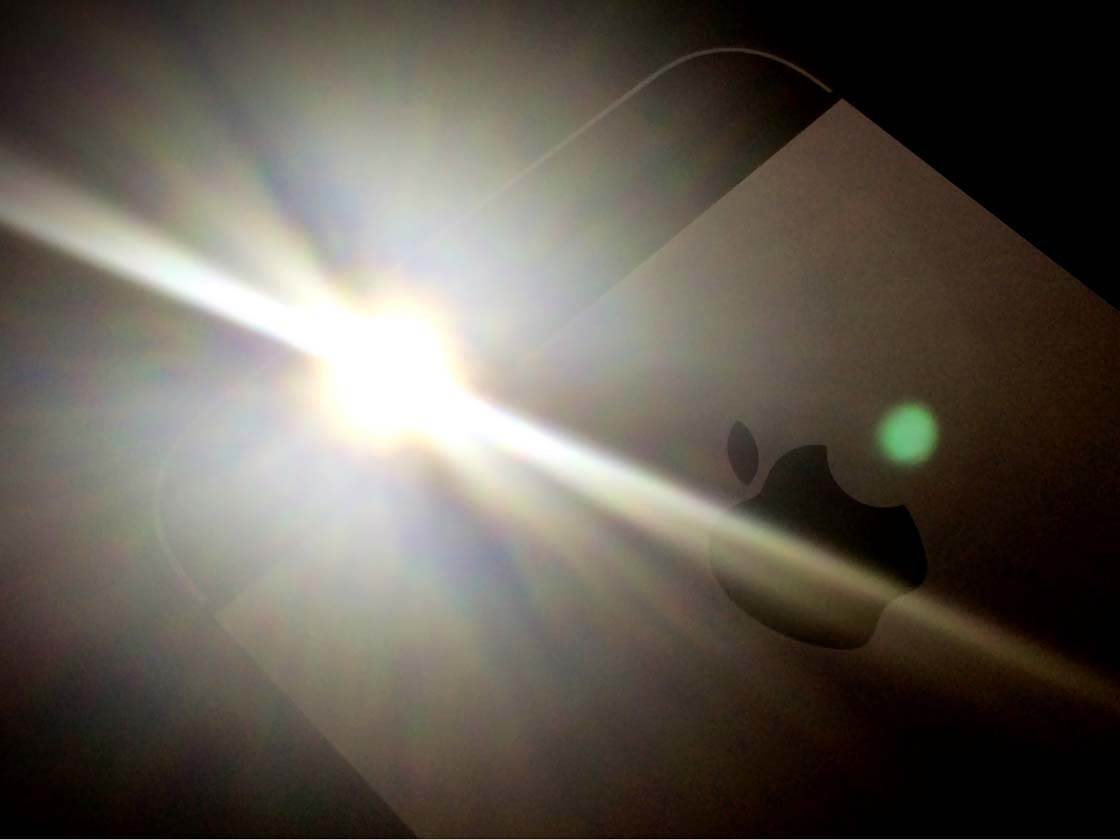
Not only will an external light source typically provide a better quality of light, but it also offers you greater flexibility to enhance your iPhone photography.
While just about any light source can be used to help illuminate your shot, purchasing a dedicated light source that’s designed specifically for photography will provide you with a more reliable source of good-quality light.
Benefits of a portable light source typically include:
- Ability to adjust the angle of the light source
- Adjustable power levels to better control the strength of the light
- More even distribution of light
All of these benefits ultimately give you more creative control over your photography.
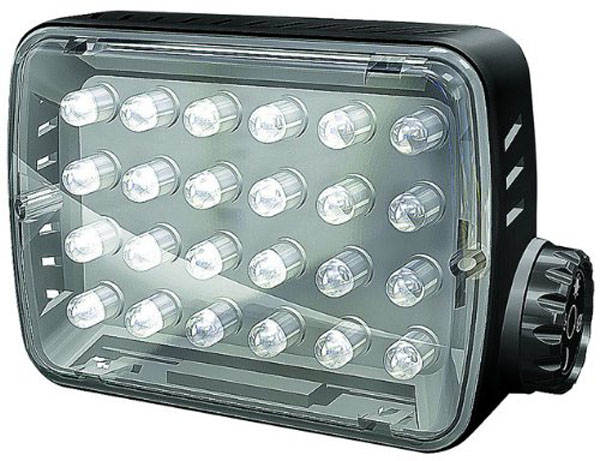
When shopping for a portable light source, there are different types to consider. One of the simplest styles is found in the line of LED lights built by Manfrotto.
A basic, yet powerful, light can be found in the Manfrotto ML240 as shown above. This will give you a very flexible, steady light source that can be used for simply direct lighting. Or as seen in the photo below, it can be used in more creative ways for dramatic effects.
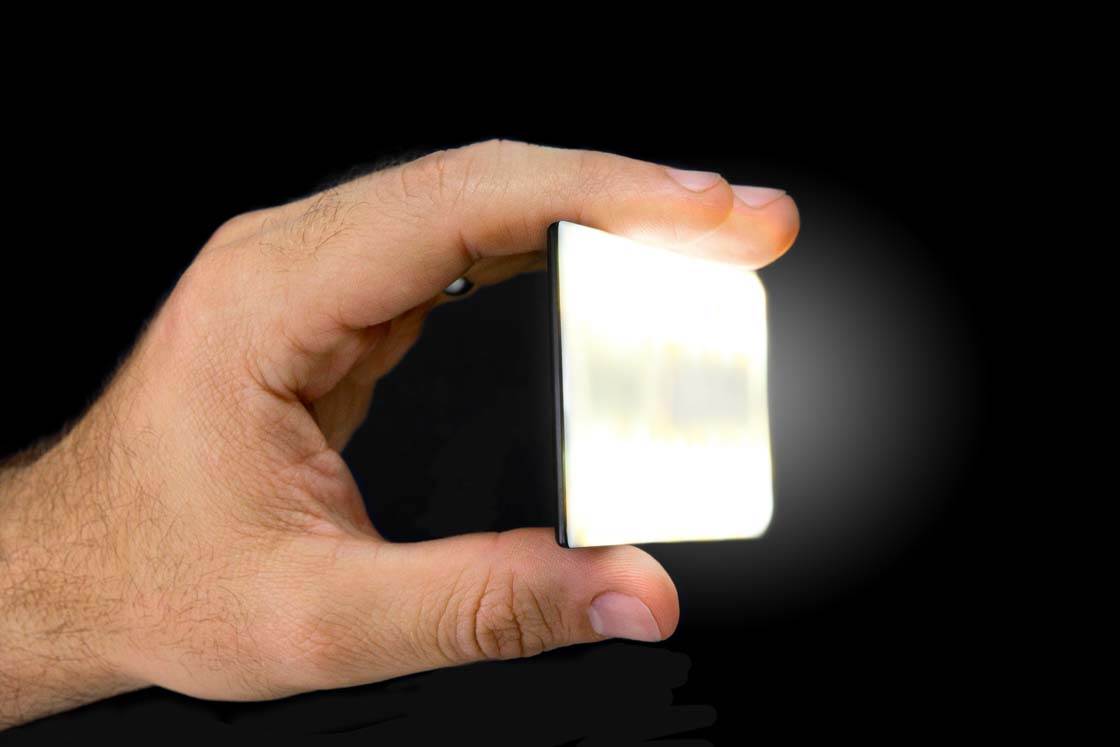
Another new option to consider is the Nova wireless flash system. This is another off-camera flash, but instead of being a steady light like the Manfrotto and others, this is more of a true flash device that syncs with your iPhone’s camera via Bluetooth.
It also has the added benefit of being small enough to fit in your pocket and possibly even your wallet… depending on the size of your wallet!
6. Mobile Wireless Storage Drives
If you do plan to do a lot of shooting over a short period of time, carrying an external storage device with you may be a worthy investment. These are typically flash-based memory drives (meaning no moving parts) that you can upload your photos to in order to free up memory on your iPhone.

One could argue that it would be just as easy to upload your photos to a cloud-based storage service such as iCloud Photos, Dropbox or Google Drive.
But that would entail either having access to a high-speed Wi-Fi connection or a large data plan with your cellular service provider. If you want to quickly back up your photos while you’re on the go, an external storage device is your best option.
There are so many great options for these devices that it would require a whole other article just to skim the surface of what’s available. In fact, this article provides reviews of some of the most popular wireless drives and is a good place to start your search.
Keep in mind that of all the accessories discussed in this article, wireless storage drives are generally the most expensive.
Unless you shoot hundreds of photos in a day, or are planning a long vacation where you won’t be able to easily back up your photos, a wireless storage drive may be overkill for regular use. However, it’s still good to be aware of them as an option that you may need at some point.
7. Camera Bag
Finally, you need something to carry all this gear in, don’t you? Well, this decision need not be a complicated one as there is no “right” decision for everyone.
Many mobile photographers (myself included) simply pack their gear into an existing backpack and don’t think twice about it. This is a great place to start, especially if you’re packing a lunch, rain poncho or other items for a long day of shooting.
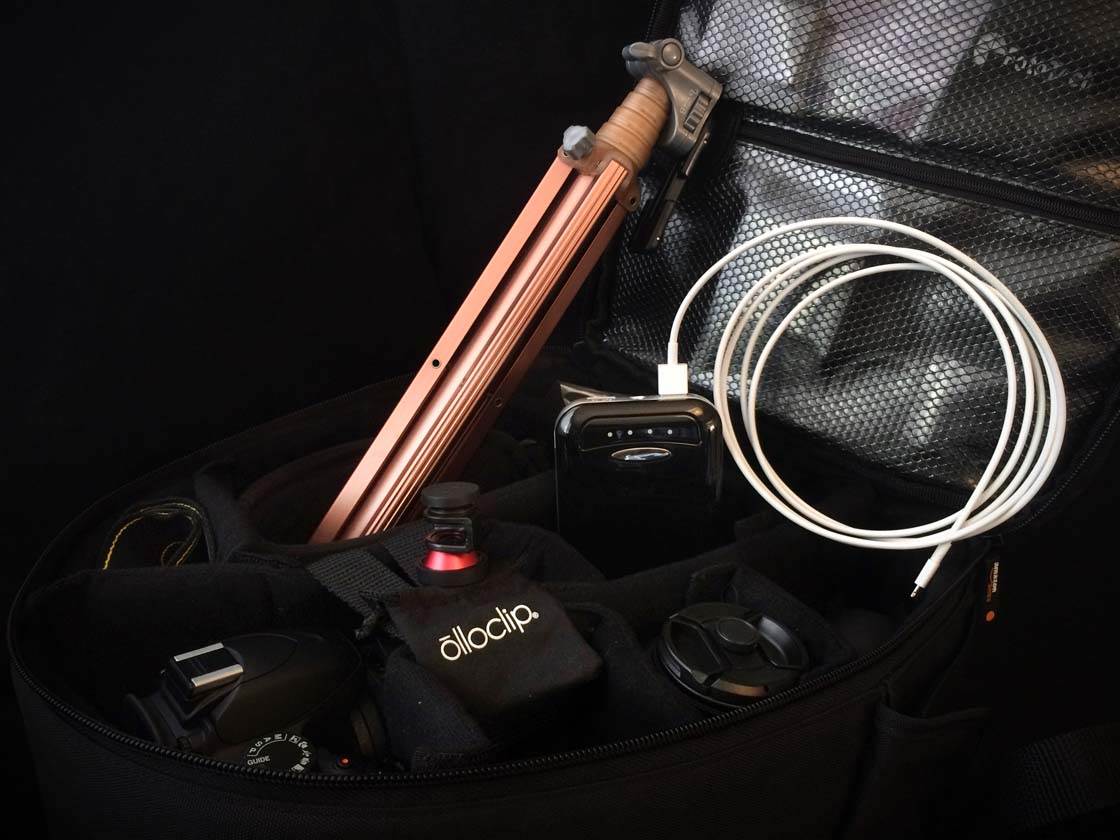
On the other hand, if you also shoot with a DSLR or other camera, you may find it easier to pack your mobile photography gear into your camera bag with your other gear.
Or instead, you may wish to travel as light as possible and use a simple waist pack to carry some smaller essentials such as an external battery, add-on lenses, etc.
Ultimately, it all depends on your needs and goals. Try a few different bags (if you have them already) during your photo outings and see what works best for you.


Thanks for sharing this useful information about iPhone camera accessories, Rob 🙂
Cheers Kate! 😉
Great article Rob. Nice work
My iPhone 6 Plus barely fits in Joby Grip Tight Mount. Do you have other suggestions for a mount?
Thanks for the suggestion! The Shoulderpod is a wonderful option! I haven’t used one myself, but know others that have. Cheers!
Chris, great suggestion! Thanks for sharing!
You talked about all these incredible accessories, now what do you use to carry them all around all day? A backpack?
Thanks
For the moment lenses, how do they secure onto the phone? Threading? Magnets?
H Dean. You attach the mounting plate to your phone and the lens then attaches to the mounting plate via a bayonet fixing. You can find more info on the Moment lenses here: http://iphonephotographyschool.com/moment-lens-first-reviews/ and here: http://iphonephotographyschool.com/iphone-6-lenses/
Where can you get the lollipod tripod and do you need the joby mount to go with it?
I can’t find the lollipop tripod on amazon…any other good tripod suggestions?
Can the:
GripTight GorillaPod Stand For Smaller Phones – This Smartphone Stand and Tripod Will Provide You a Multitude of Solutions
Hold the iPhone 7 Plus in both landscape and portrait position while the three legs are on a flat surface (table)