Whether you’re photographing beautiful landscapes, trees, water, animals, plants or flowers, nature photography can be incredibly rewarding. But you don’t have to live in an area of outstanding natural beauty to take stunning wildlife photos. Nature is all around us. Whether you’re exploring the countryside, wandering through a city, or even just out in your garden, you can always find amazing natural subjects to photograph. In this tutorial, you’ll discover eleven inspiring tips for taking amazing nature photos with your iPhone.
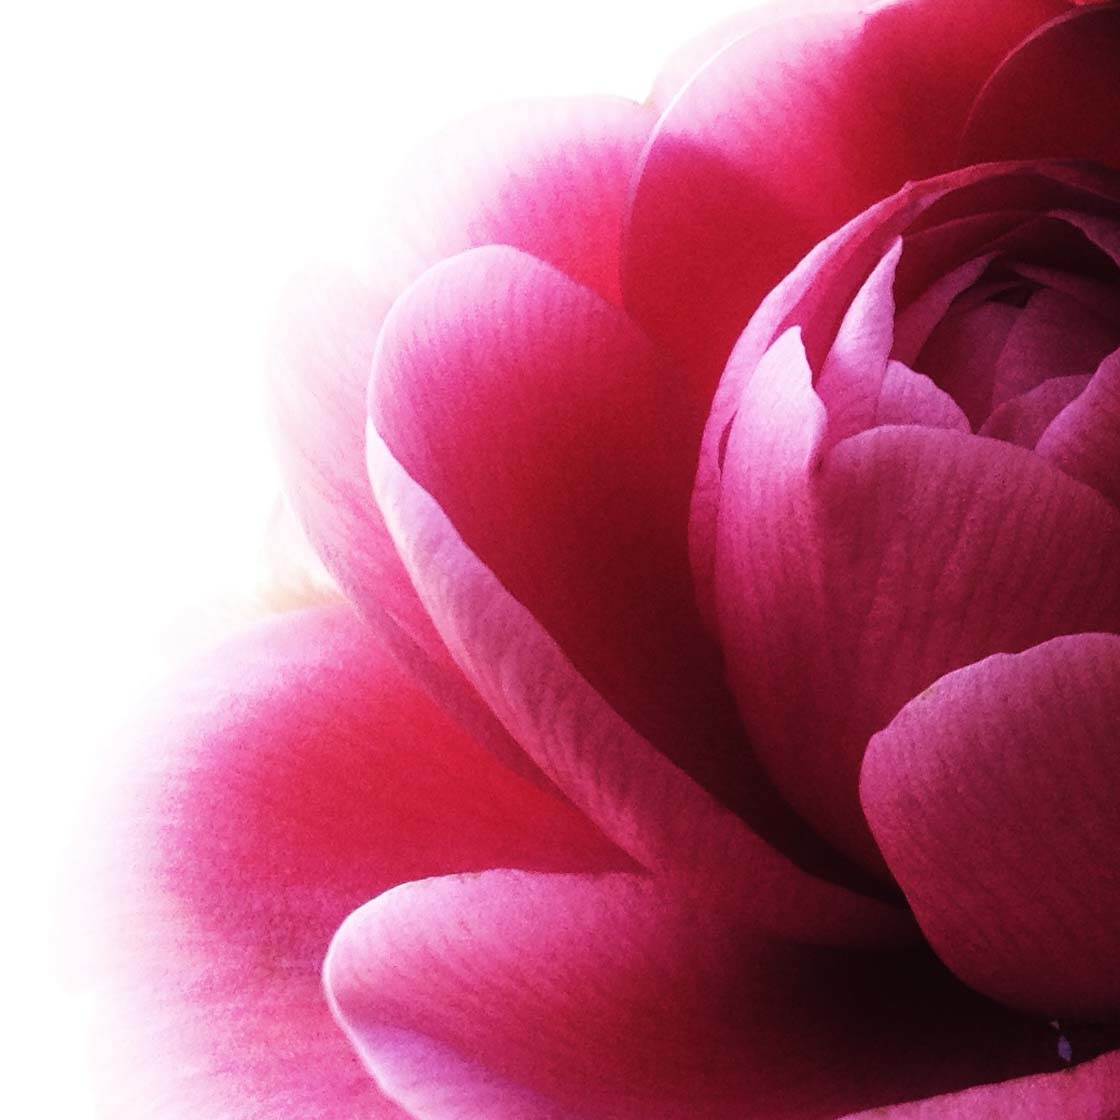
Your iPhone is actually the perfect camera for nature photography in many situations. You don’t have to lug around heavy camera equipment, and its small size means you can get really close to your subject or shoot from extremely low angles.
And since you always have your iPhone with you, you’ll never miss out on photographing the wildlife that you see every day. Something as simple as a butterfly on a flower or a beautiful icy twig can make a stunning nature photo that you’ll be proud to share with the world.
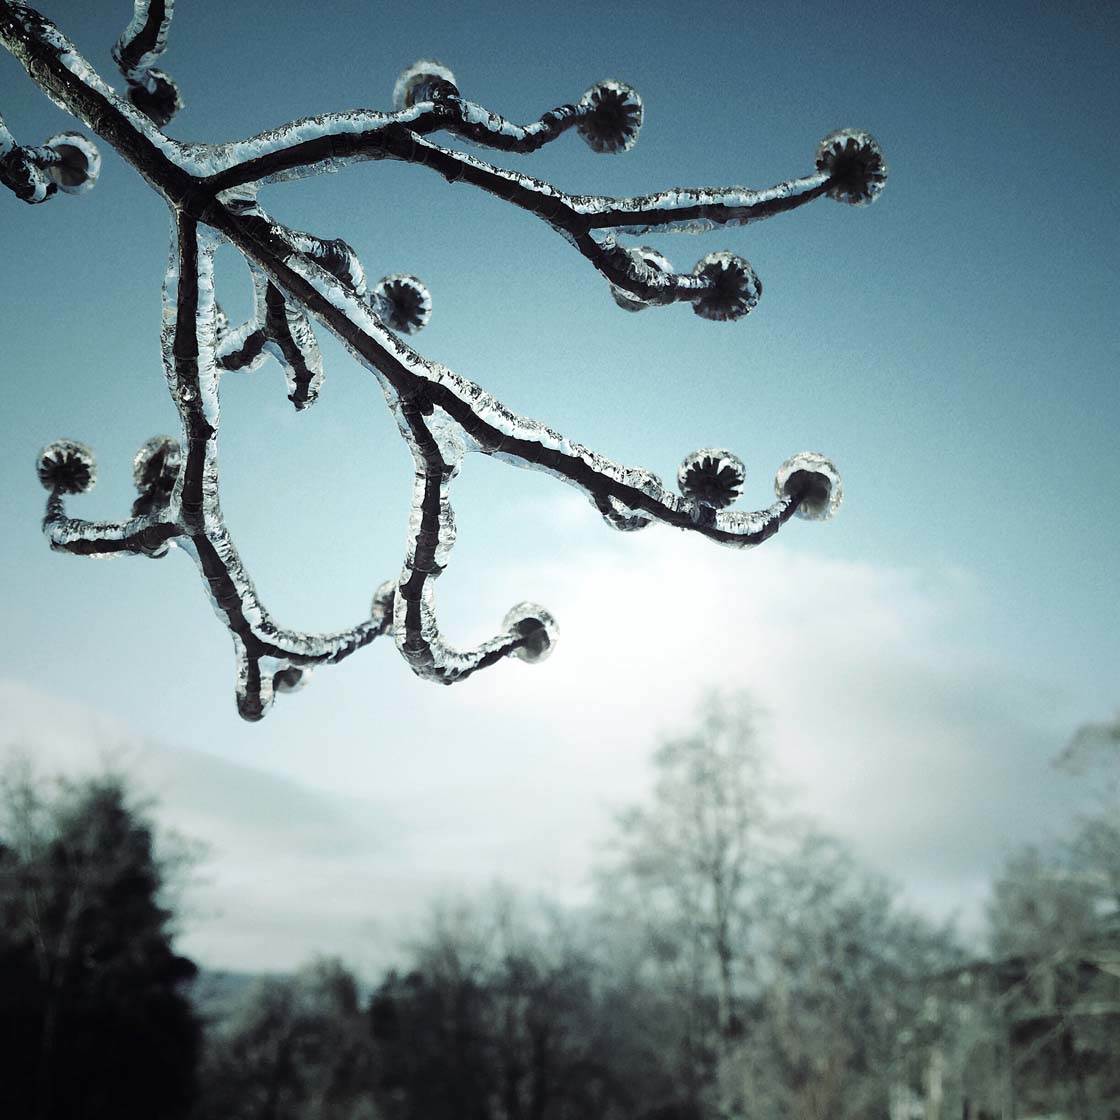
So let’s take a look at the most important photography tips and techniques for taking beautiful iPhone photos of the natural world.
1. Make The Most Of Your Natural Surroundings
You don’t have to live in the most beautiful place to find amazing nature subjects to photograph. Go outside and explore your yard, neighborhood or street. I have a state park nearby with a walking trail that is a constant inspiration for many of my photos.
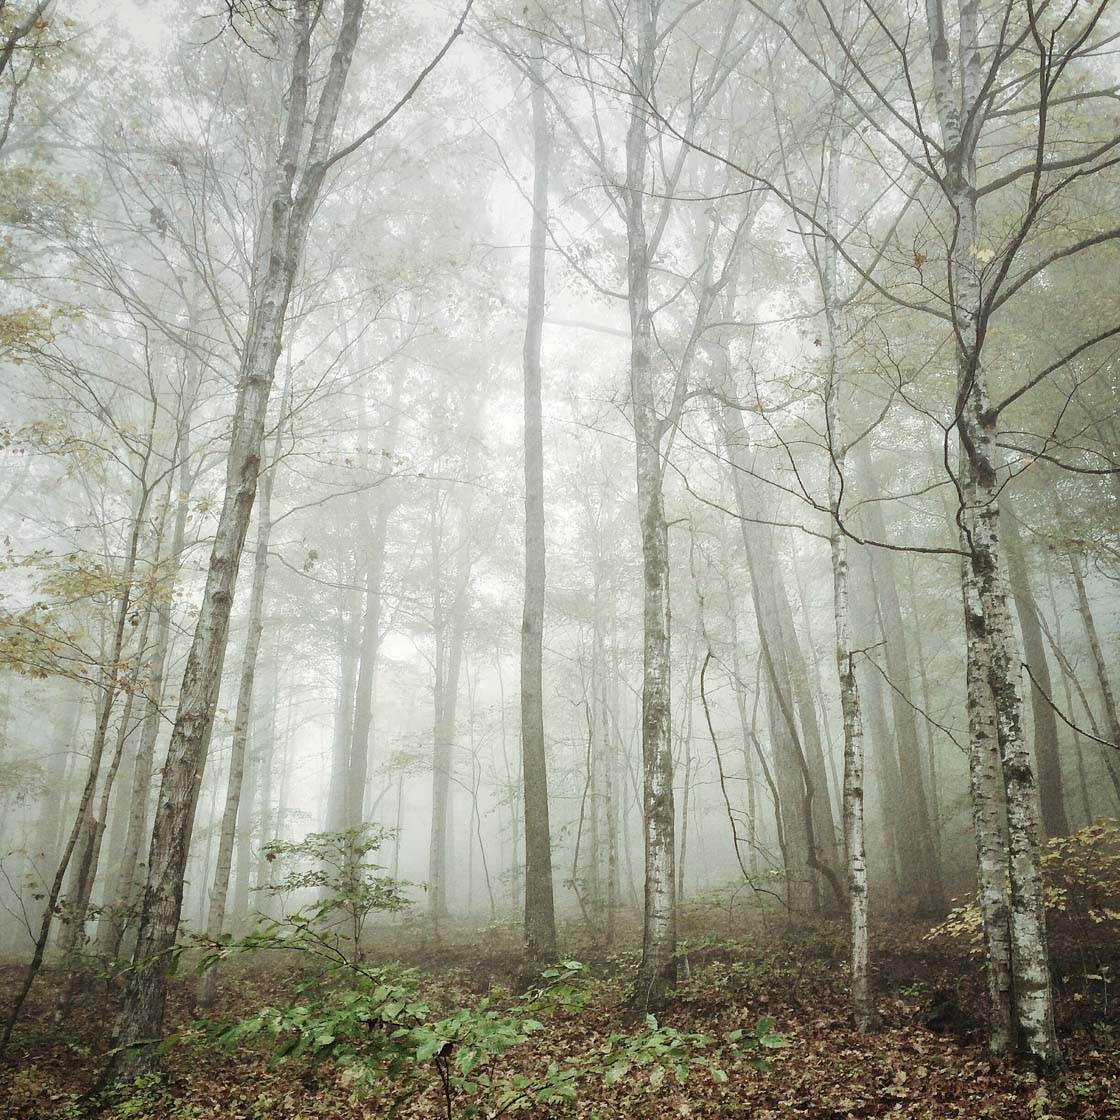
Be observant. Enough cannot be said about looking around and actively observing your surroundings. There are no limits to what you could capture: landscapes, wildlife, insects, flowers, water, birds, sunsets, trees, clouds, fog… the list is endless.
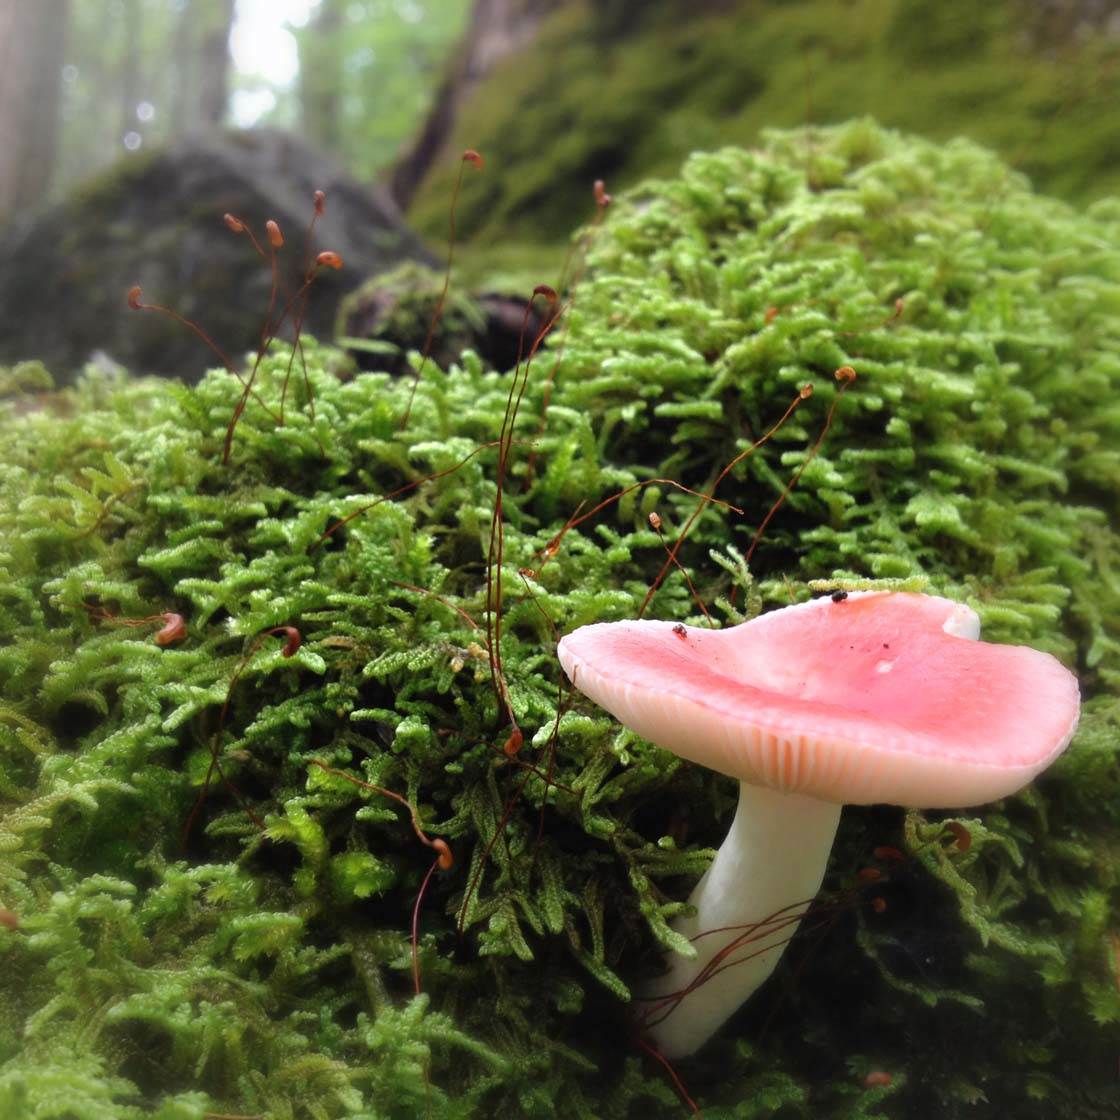
Don’t just look around at eye level. The most interesting subjects are often found on the ground. Try looking up too. The sky makes a great background for birds flying overhead or for photographing straight up at tall plants or trees.
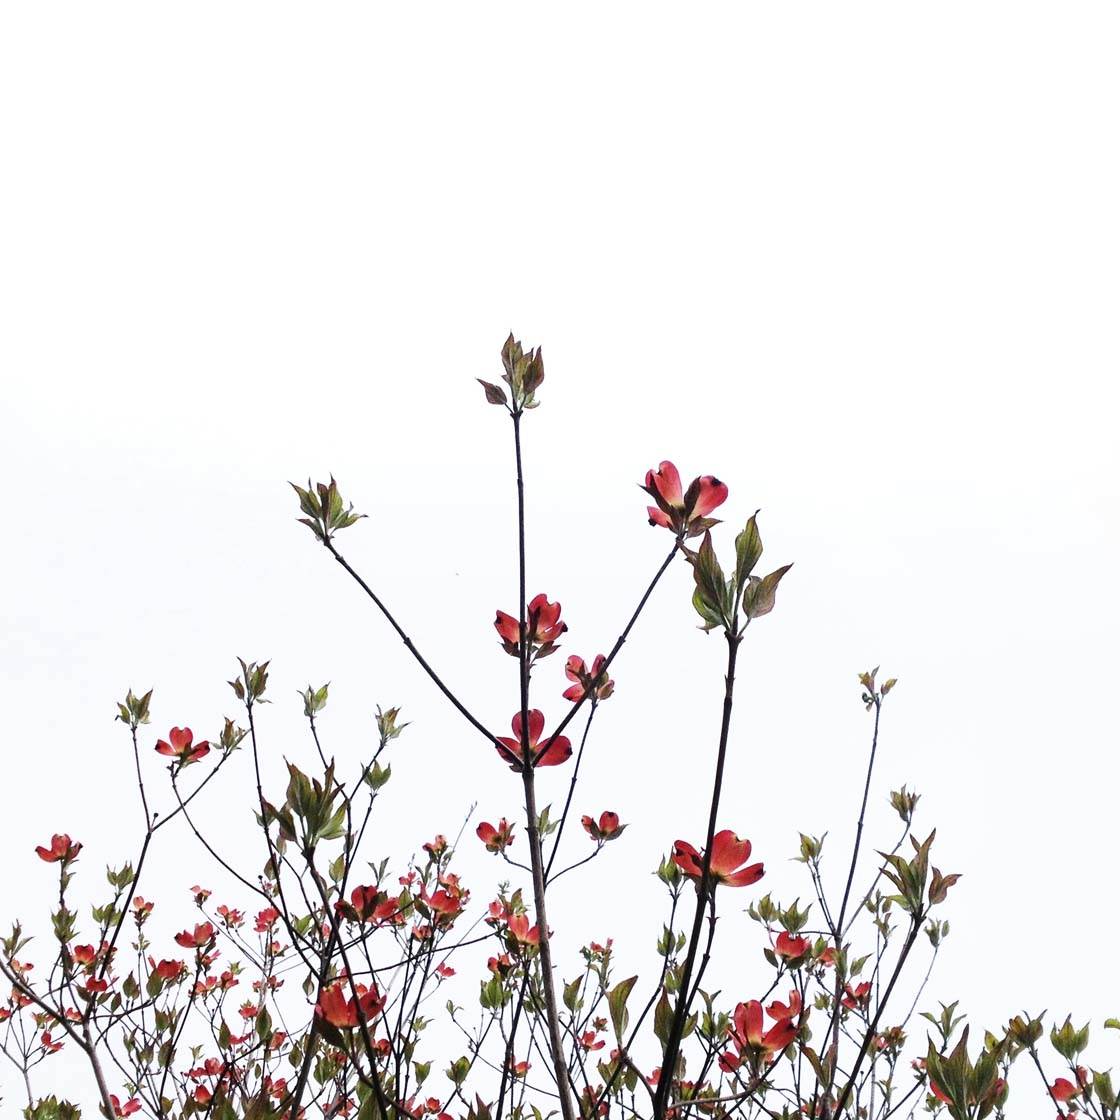
If you have children, go out exploring with them. Children are natural explorers and their curiosity is infectious. They often spot things that you might not have noticed and they’re not afraid of getting dirty. There’s a lot we can learn about photography from children.
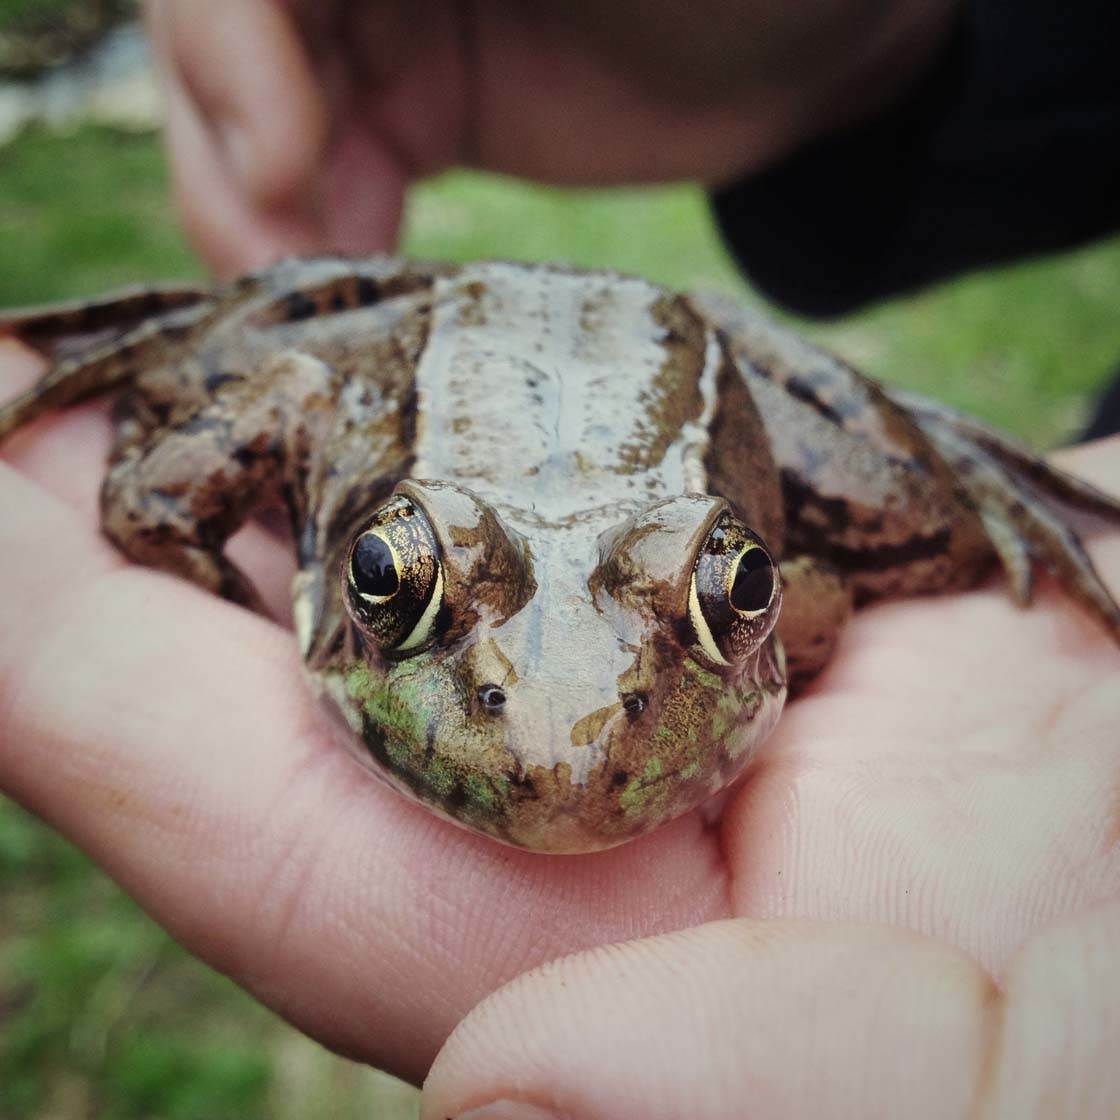
I’m glad I didn’t pick up this frog to photograph it, but my son was more than happy to scoop him up. My children are always excited when they see something they’ve found outside for me to photograph.

This icicle photo is the result of my son excitedly finding them and then promptly telling me. My children have learned to be very observant and this inspires me to look more closely at nature.
2. Capture Different Seasons
It’s amazing how different the landscape and nature can appear at different times of the year. From the weather and changing light to the kinds of plants and animals that you’ll find, each season has its own unique scenes that you can capture with your iPhone.
In spring, you’ll find an abundance of new life emerging. During summer the trees are full of leaves, and flowers in a multitude of colors are everywhere you go.
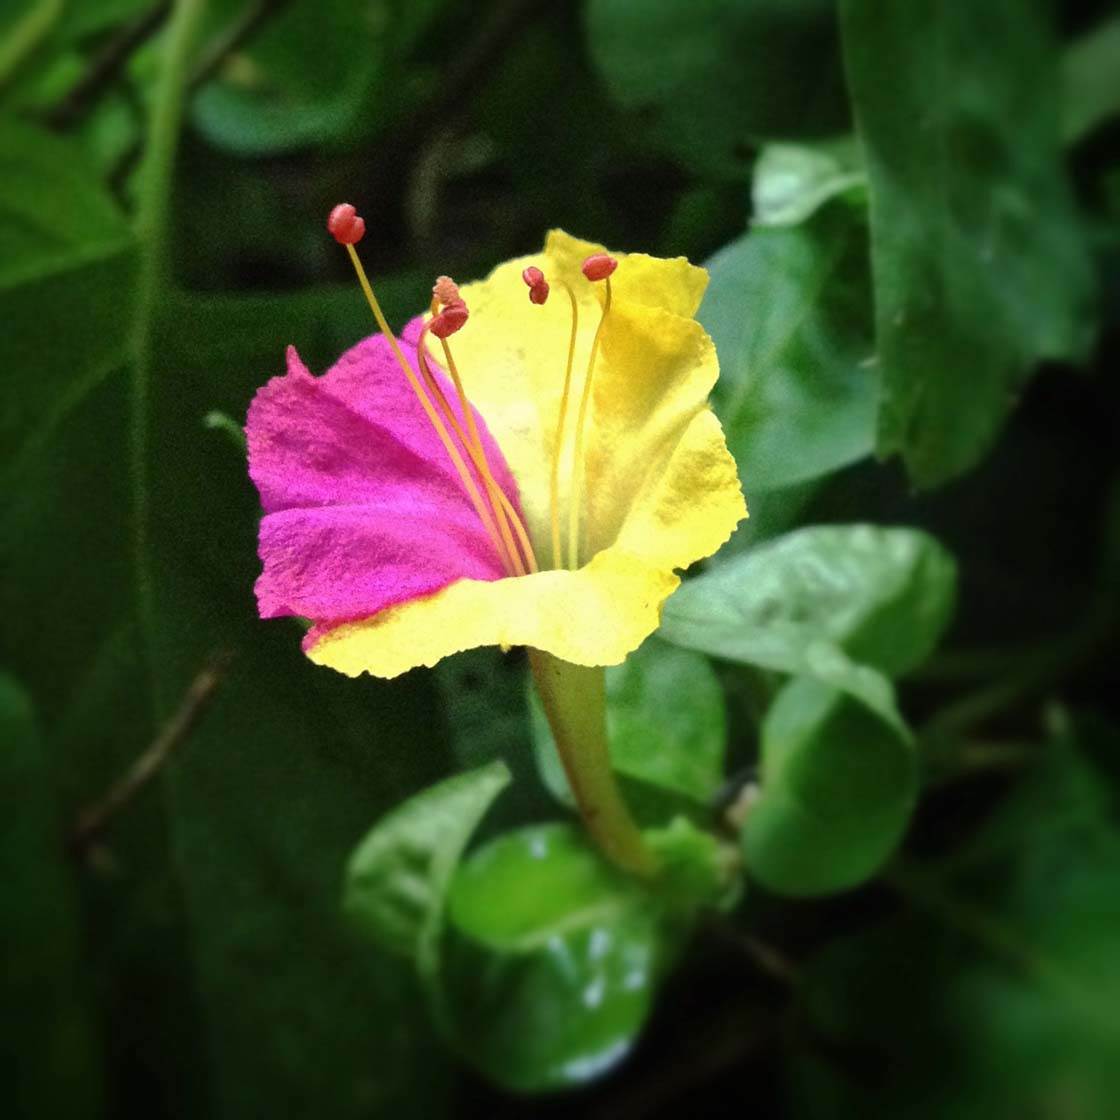
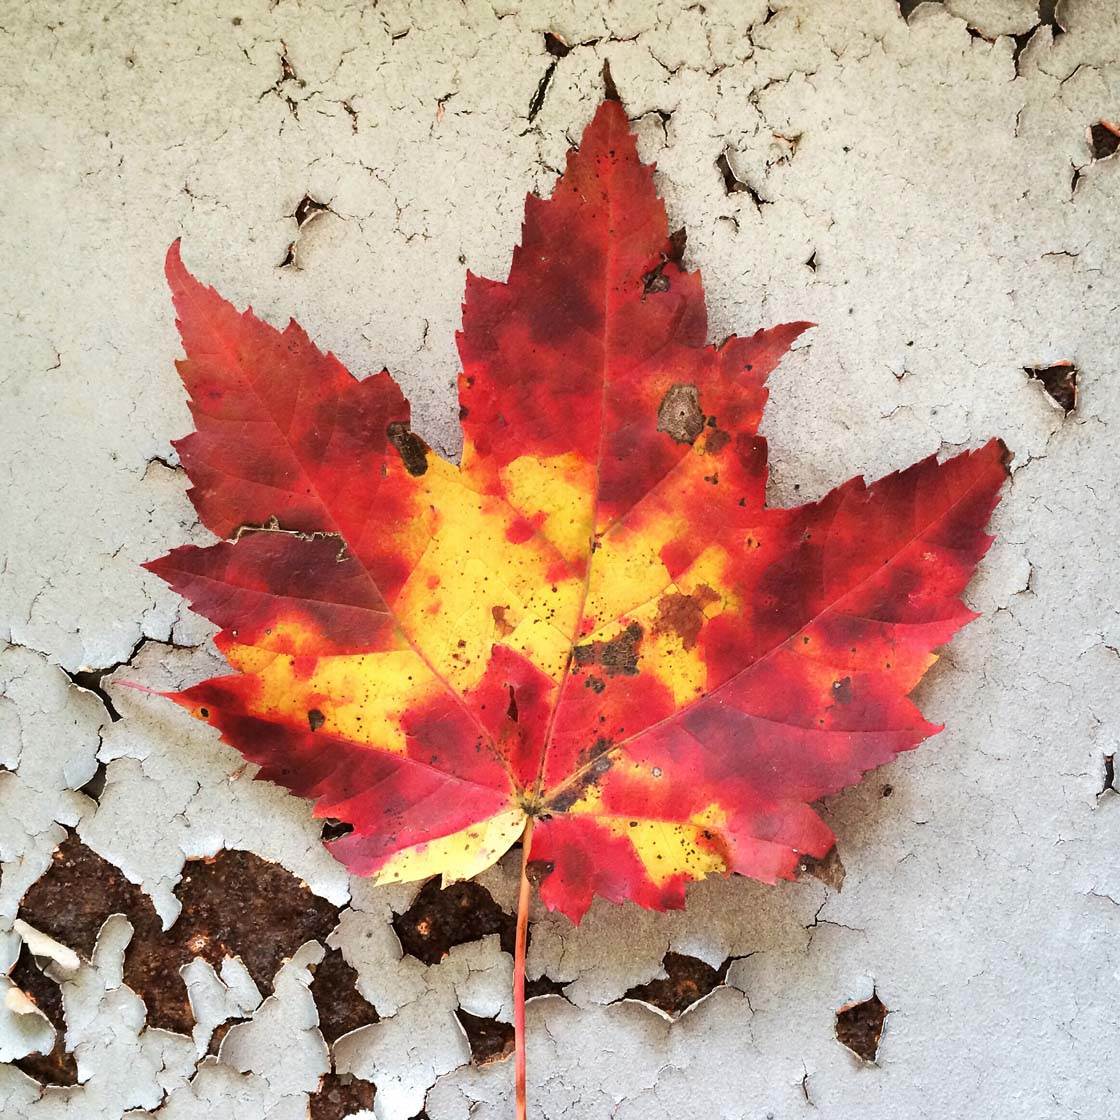
As fall begins, the leaves on the trees will start to change color and drop to the ground. This is a fantastic time of year to photograph the beautiful warm colors, and the light can be amazing at this time of year.
People often think that there’s nothing to photograph in nature during winter. But trees without leaves make great subjects, especially if you capture their bare branches silhouetted against the sky. And of course, frost and snow makes all of nature appear beautifully delicate.
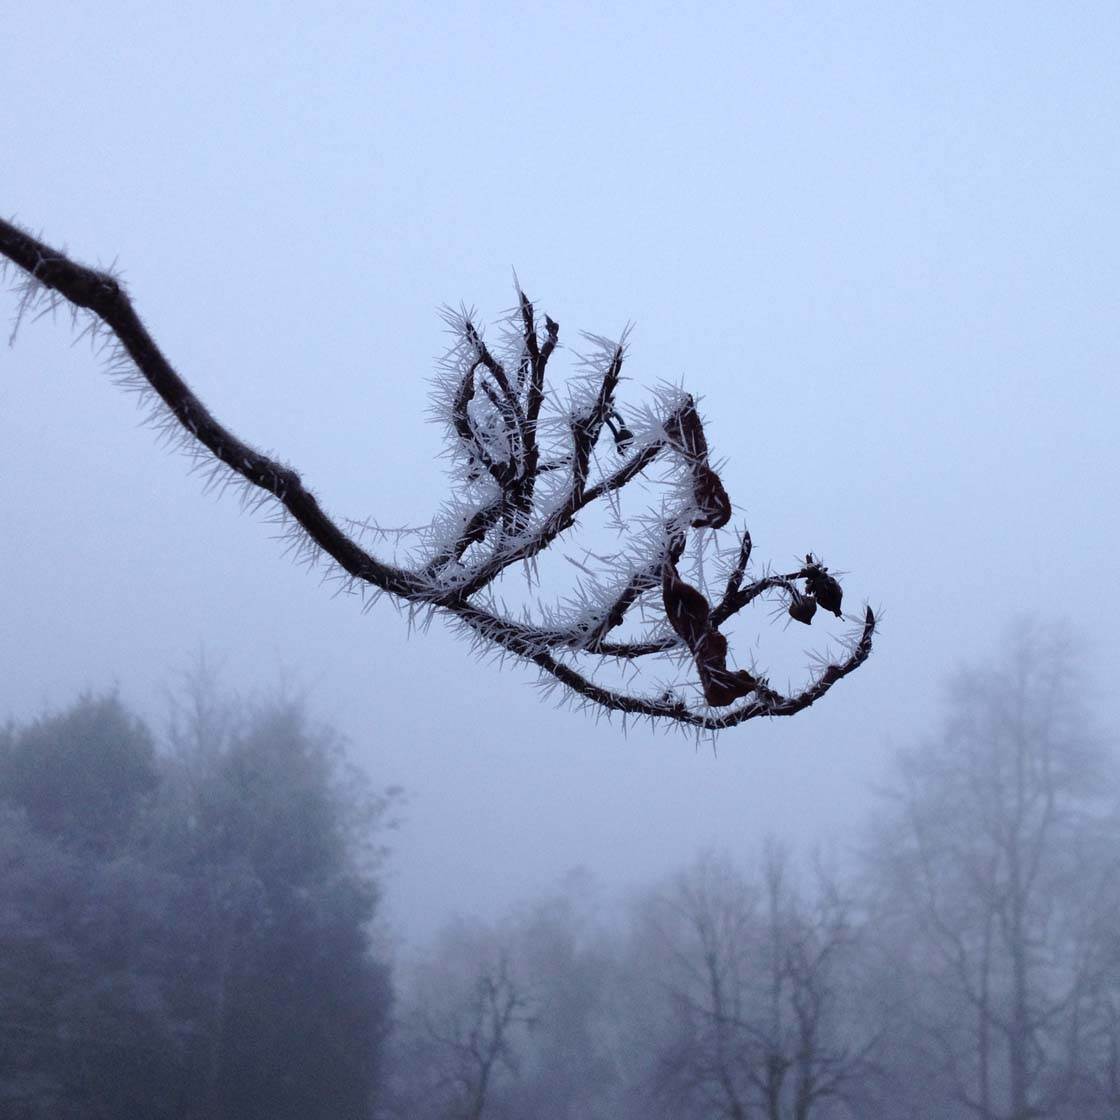
Many times I will photograph the same location, tree or twig in different seasons, and the photos are always different each time. Go out and find a location that you like, then keep revisiting it and taking photos of the same view during different seasons.
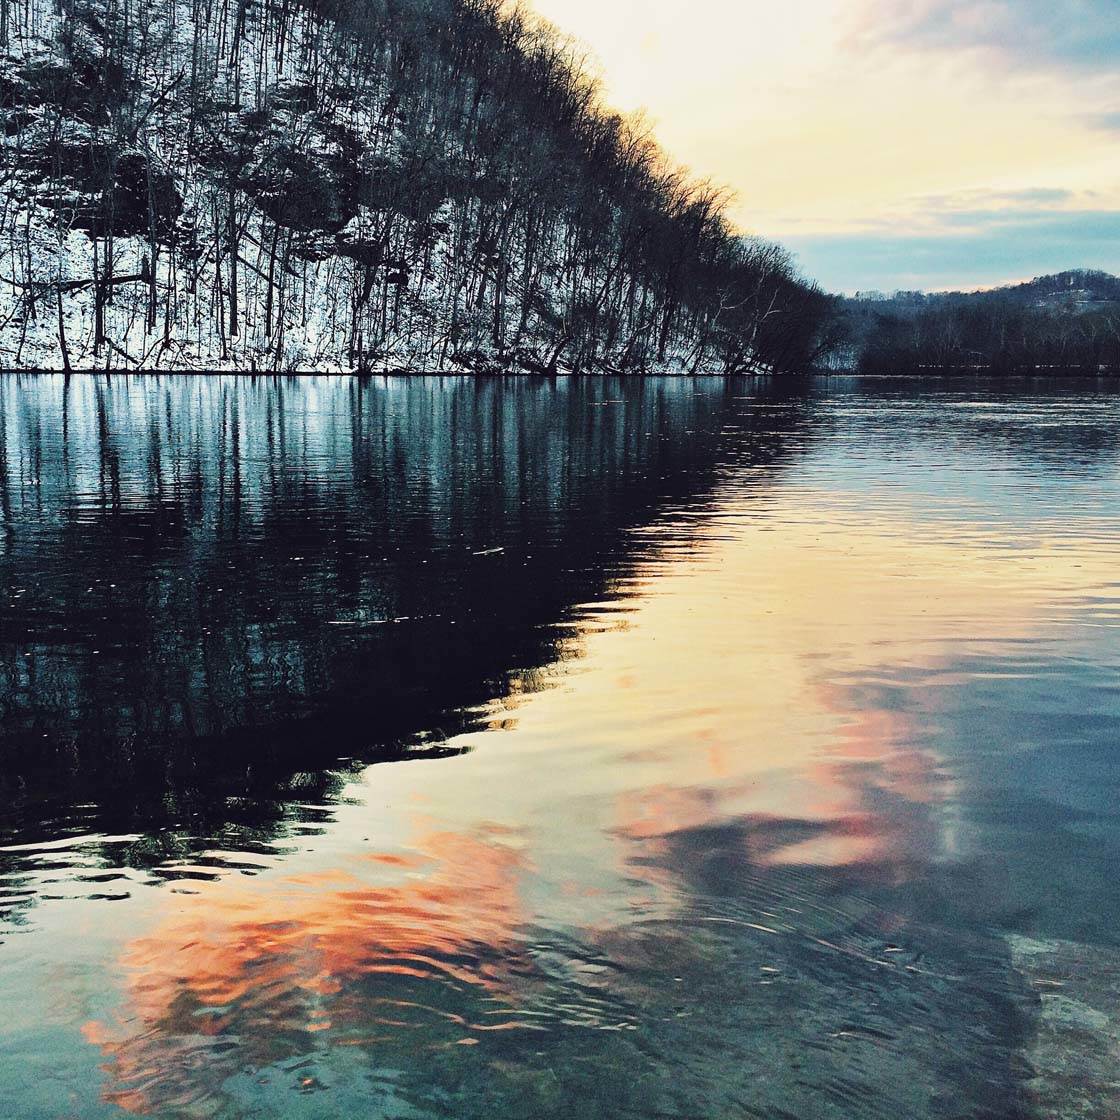
Above and below are two photos of the same view taken at different times of the year. The light and the difference in foliage on the trees creates two completely different images.

By shooting the same scene or subject throughout the year, your photography will improve and you’ll begin to focus in on different elements within the same subject.
3. Shoot In The Best Light
Most nature photography is done outside in natural light. The type of lighting you’re shooting in is one of the most important things to consider. A good photo opportunity can be ruined if the light is not good.
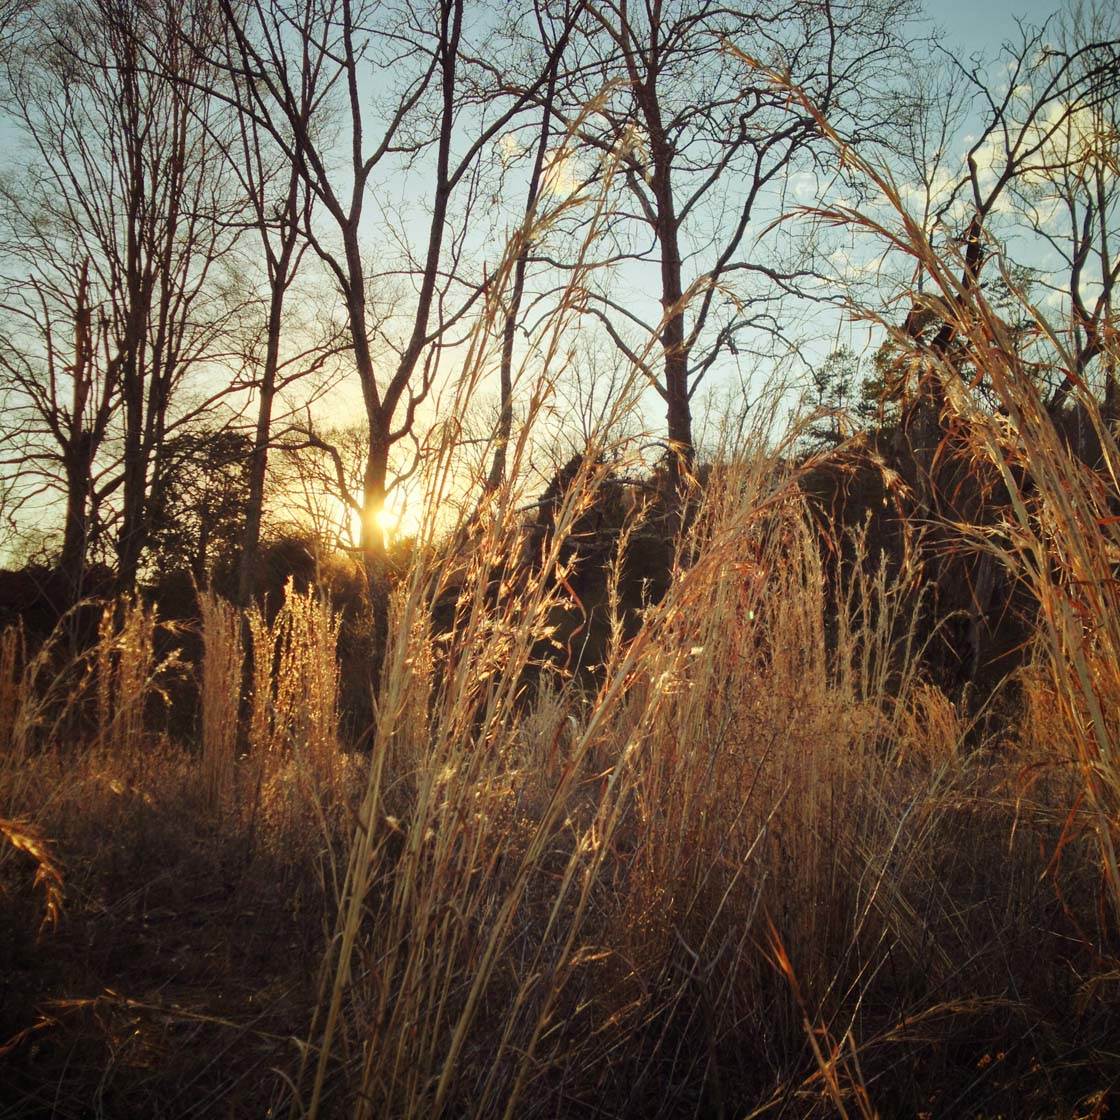
It’s generally best to take your photos when the sun is lower in the sky – either early in the morning or in the evening just before the sun sets. These times of the day are referred to as the “golden hour” in photography. During the golden hours the light is warmer and softer, making it easier to take great photos.
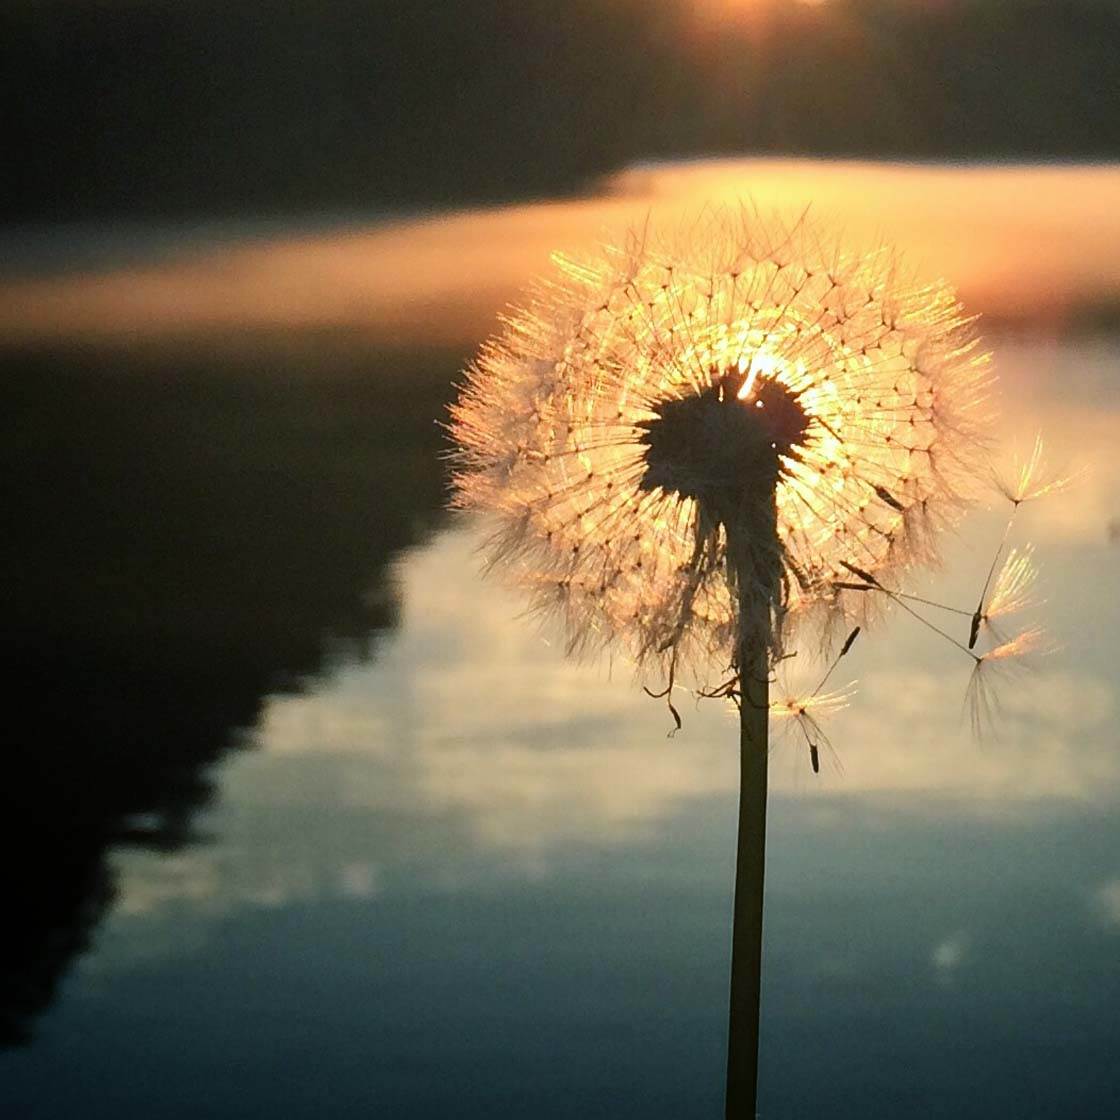
The right kind of light is what makes your photos more captivating. When the sun is low in the sky it can create a magical scene, especially if you can capture the light rays through trees and fog. The golden glow that highlights your subject is just wonderful.
If you’re out shooting during the main part of the day, an overcast sky is better than strong sunlight. In strong sunlight you can have problems with getting the exposure right and you’re likely to get harsh shadows on your subject. If the sun is bright, look for shaded areas to get out of the direct light.
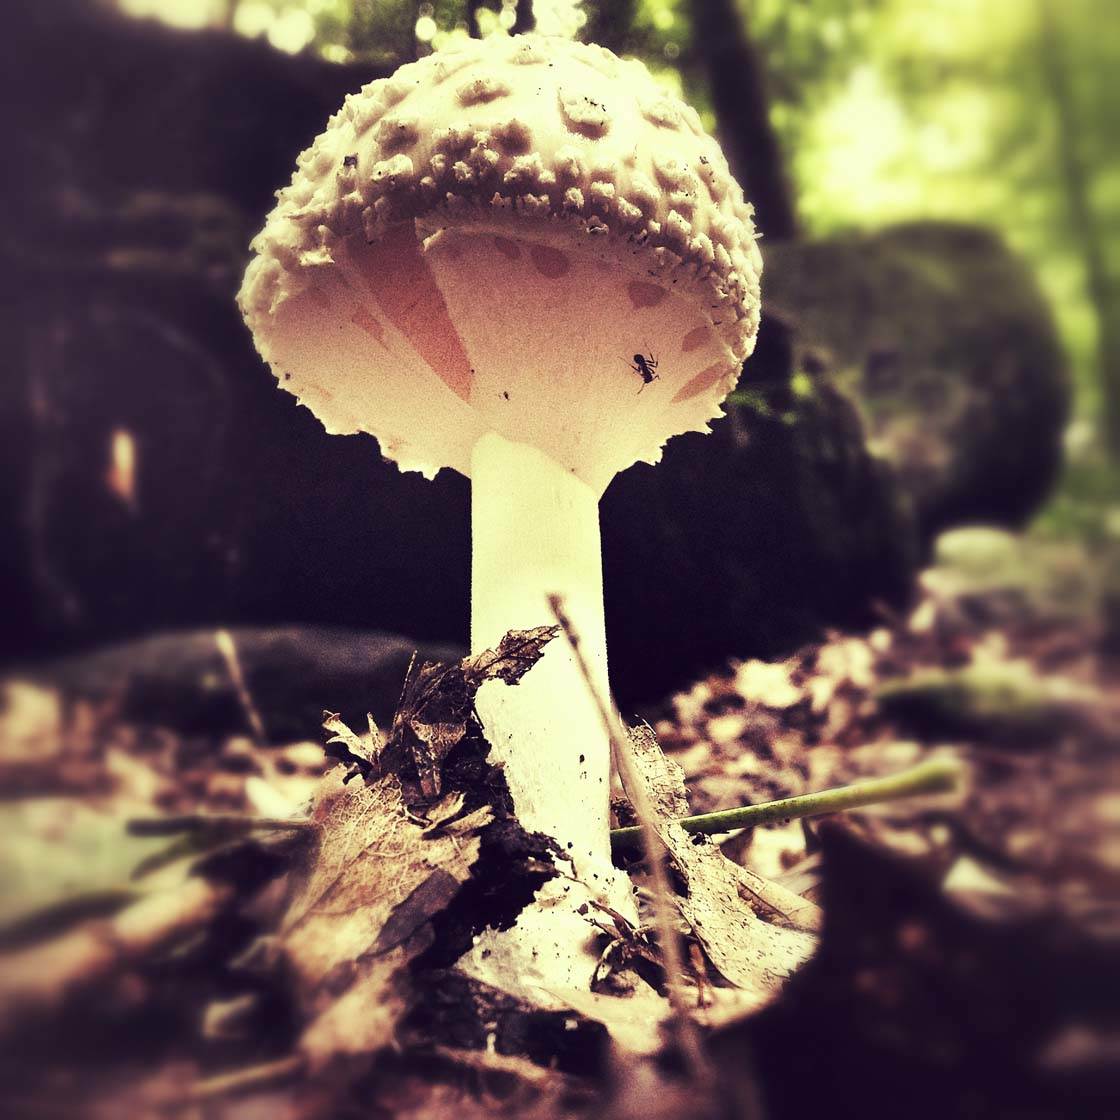
When photographing something found in nature, such as feather or a fallen leaf, you may find it easier to take the object home and photograph it in a situation where you have more control over the lighting.
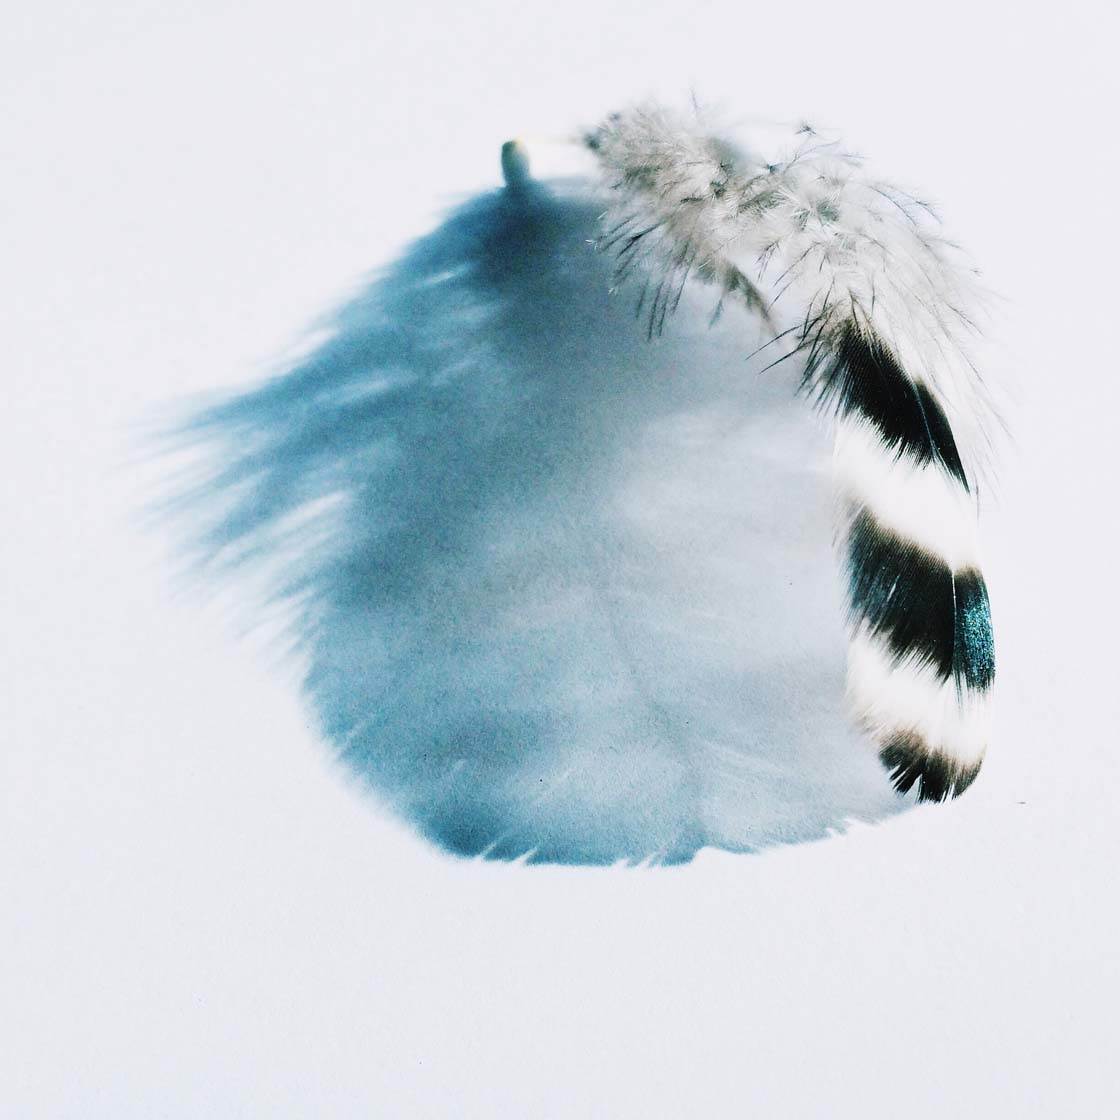
I found this feather while out on a walk and took it home to photograph. I positioned it on a white surface next to a window, allowing me to use the best and most natural light to illuminate the subject and create interesting shadows.
4. Get The Perfect Exposure
Keep in mind that your eyes see very differently to what your camera sees. So once you’ve found the right lighting, make sure you adjust the exposure manually to capture the scene at its best.
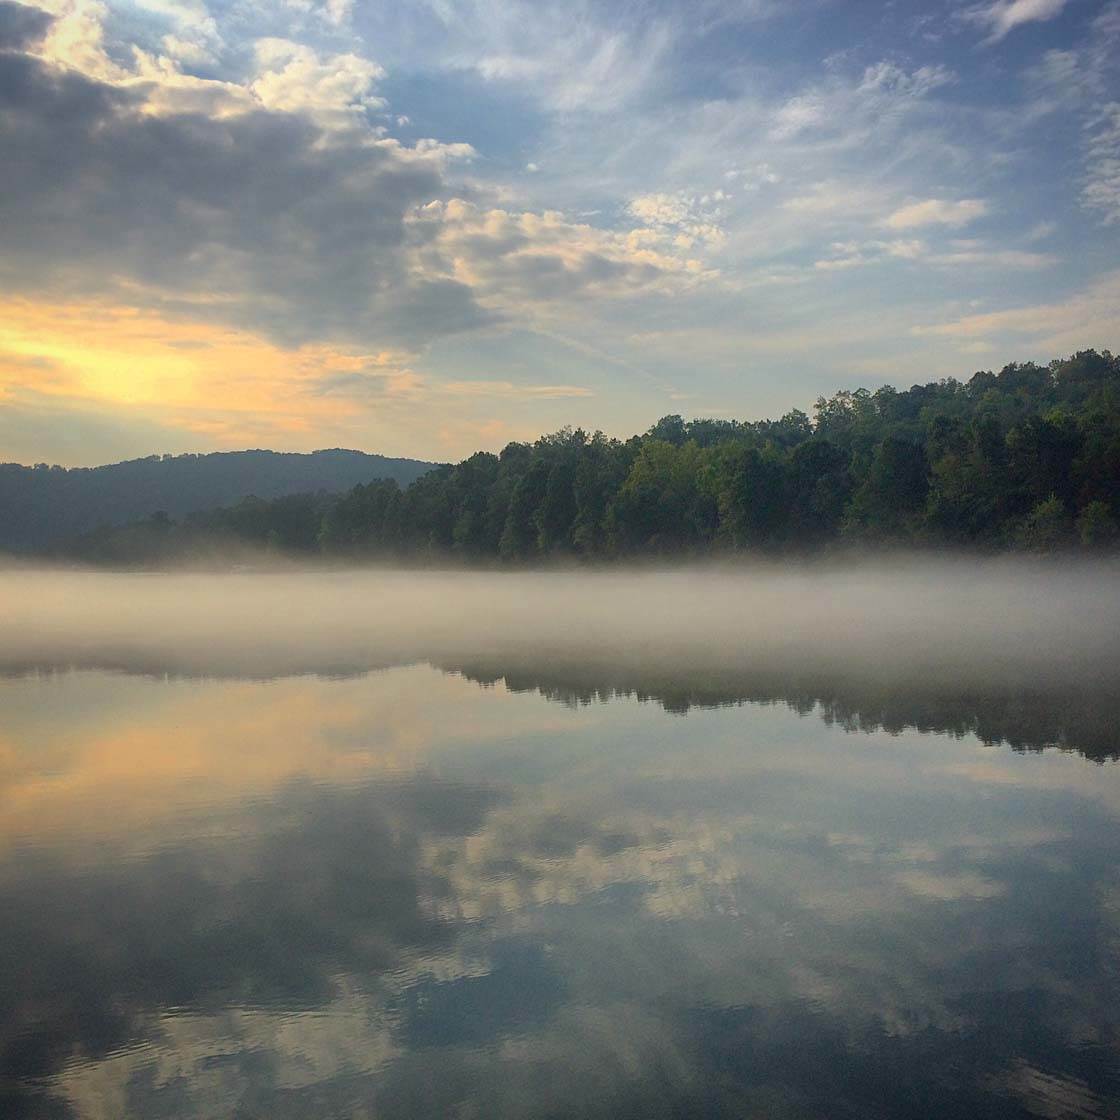
When you’ve framed your shot, tap the screen to lock in the focus, then swipe up or down to adjust the exposure. Make sure none of the highlights (bright areas of the image) are blown out (over-exposed), especially in the sky. Badly over-exposed areas will ruin your image and there’s nothing you can do to fix it in post-processing.
Sometimes when shooting a scene outside, the lighting may not be optimal for your camera so you might need to use HDR (High Dynamic Range). You can try switching on the HDR photo setting in the native camera app or use a dedicated HDR app such Pro HDR X.
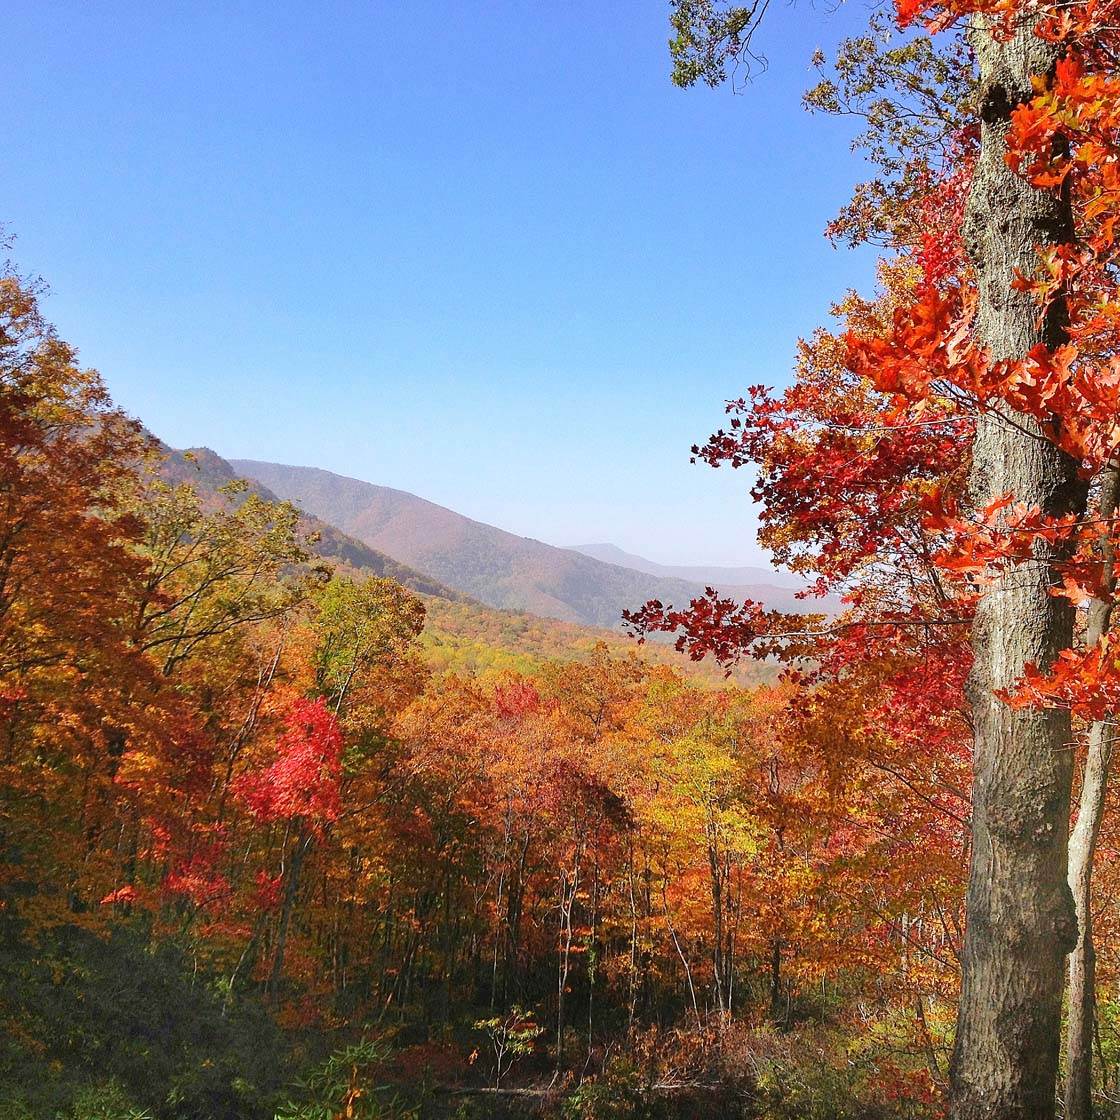
Simply put, dynamic range is the ratio between the lightest areas of an image and the darkest areas. The HDR setting allows your phone to capture more detail in both the shadowy areas and the light areas of the scene by taking several shots and combining their exposures. This is especially useful in high contrast scenes, such as when you have a bright sky and a dark foreground.
Since the camera is taking several shots one after the other, you’ll need to keep your iPhone very still when using HDR. Avoid using HDR when photographing moving subjects such as animals or in windy conditions because any movement may be blurred once the different exposures are combined.
5. Get Up Close
Your iPhone is quite capable of stunning close-up nature photography and flower photography – even without the use of special macro lenses. Close-ups of flowers, leaves, insects and other natural objects are a wonderful way of showing the incredible detail of nature.
Get your iPhone lens nice and close to your subject, then tap on the area of the scene that you want in sharp focus. This is an important step as the depth of field is very shallow when shooting close up, and only a small portion of the image may be in focus.
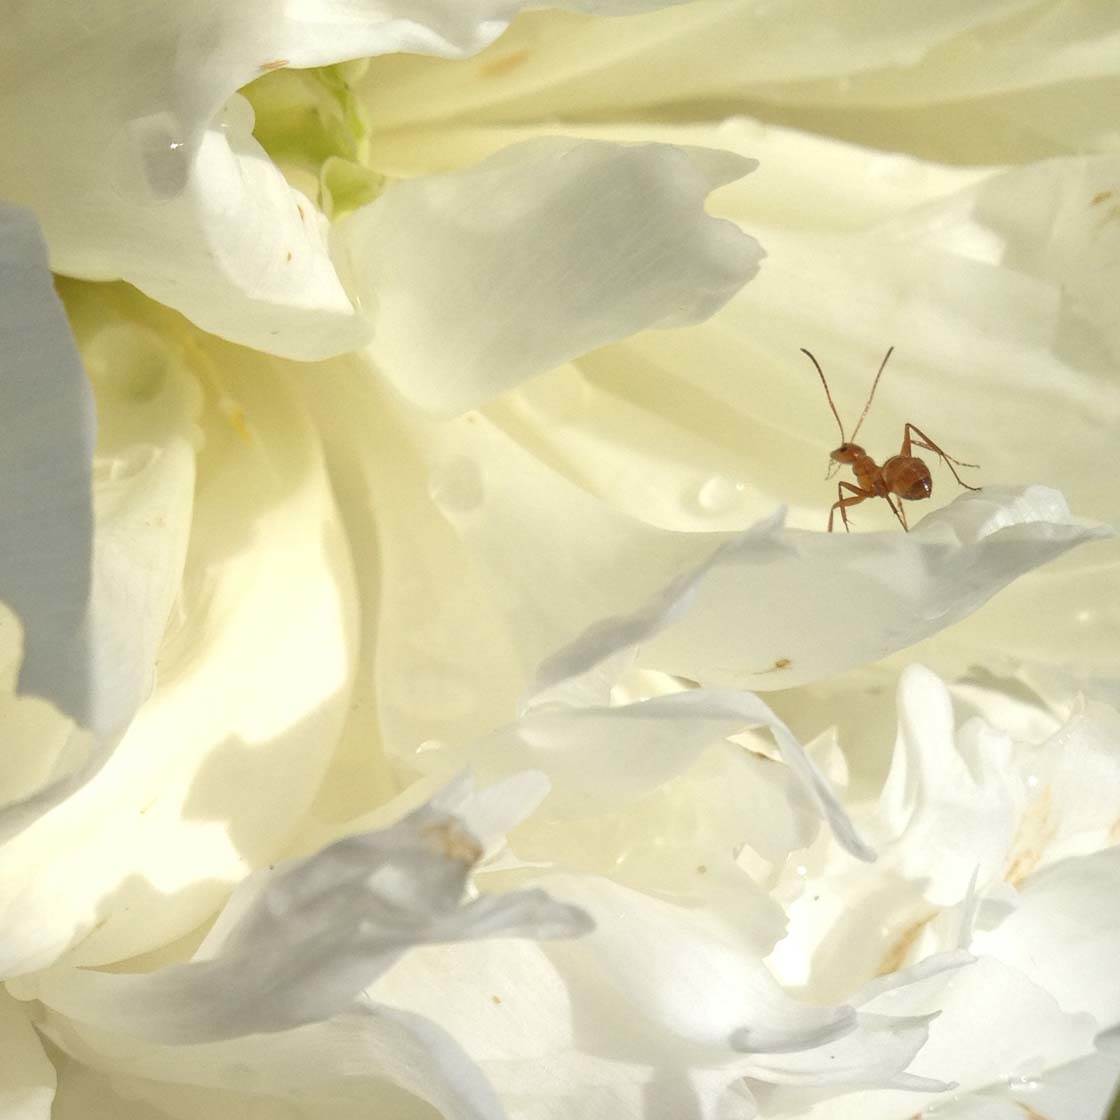
You may find it difficult to adjust focus at first, but with practice and taking a lot of photos you’ll be amazed at the results. If the camera won’t focus, you’re probably a bit too close to the subject so pull the iPhone back a little and try again.
When I’m trying to focus on a small twig, branch or spider web, the camera sometimes focuses on the background instead, causing the main subject in the foreground to be blurry.
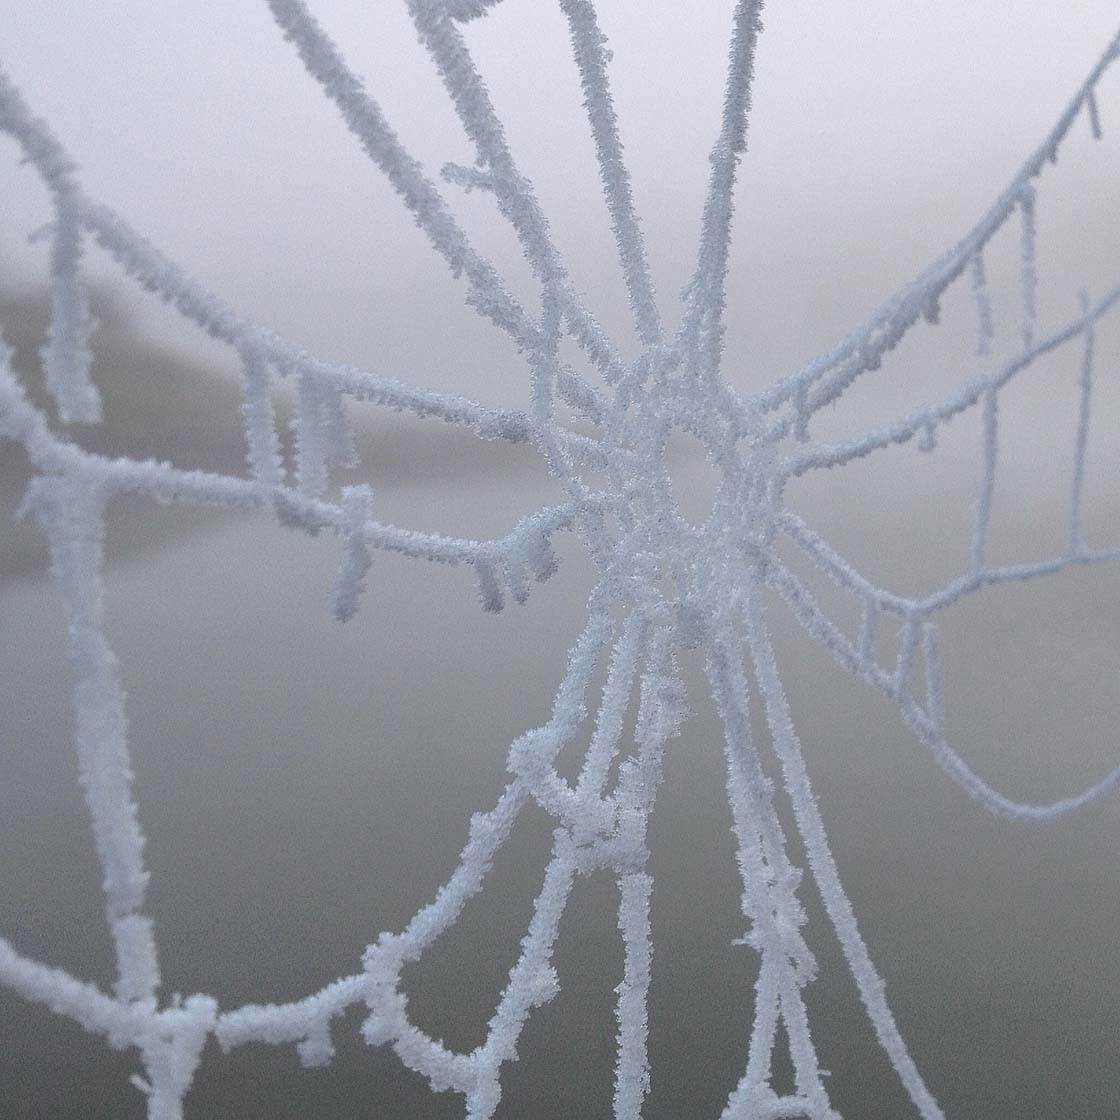
By placing my hand (or a leaf) behind the subject, the camera focuses back on the subject. I then lock the focus by touching and holding my finger on the screen, and remove my hand before releasing the shutter.
When taking close up photos it’s especially important to keep your iPhone really steady while releasing the shutter. Any slight movement will result in a blurry photo. Keep your elbows close to your side to steady your device and prevent camera shake. Alternatively, use an iPhone tripod and trigger the shutter button using the volume button on the iPhone headphones.
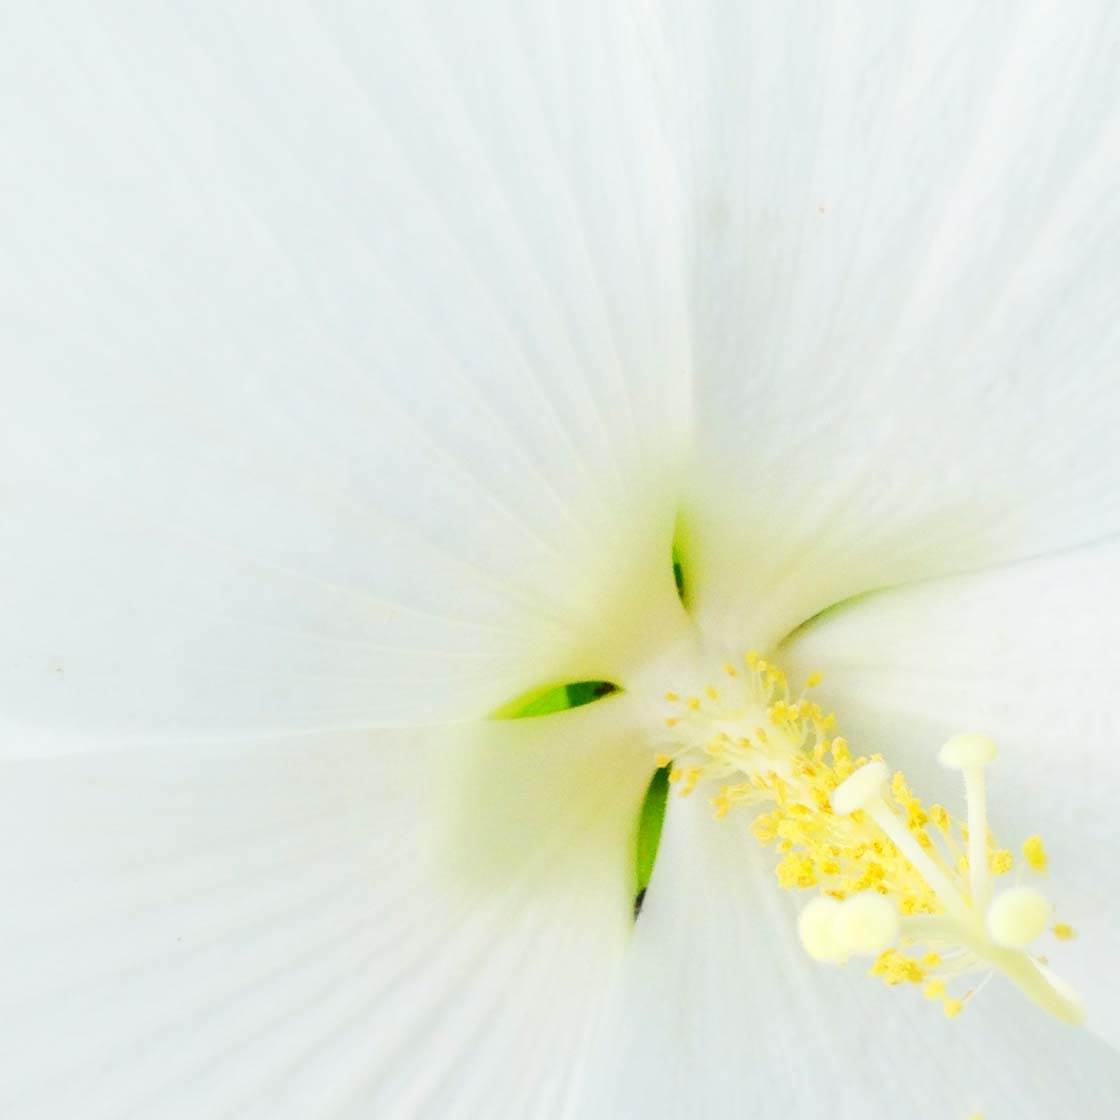
Close up photography can take a little practice, but you can do it. Take a lot of photos because you want to be able to choose the best and delete the rest.
6. Don’t Forget About Composition
Most people see a beautiful landscape, animal or body of water, and take the picture just as a snapshot of the moment. But if you really want the scene to tell a story or convey a mood, you must think about how to compose the elements within the frame. There are a number of composition techniques that are very useful in nature photography.
Think about the rule of thirds when composing your shot. This rule states that your subject should be placed off-center, rather than in the middle of the frame. This creates a more natural and balanced composition which is more pleasing to the eye.
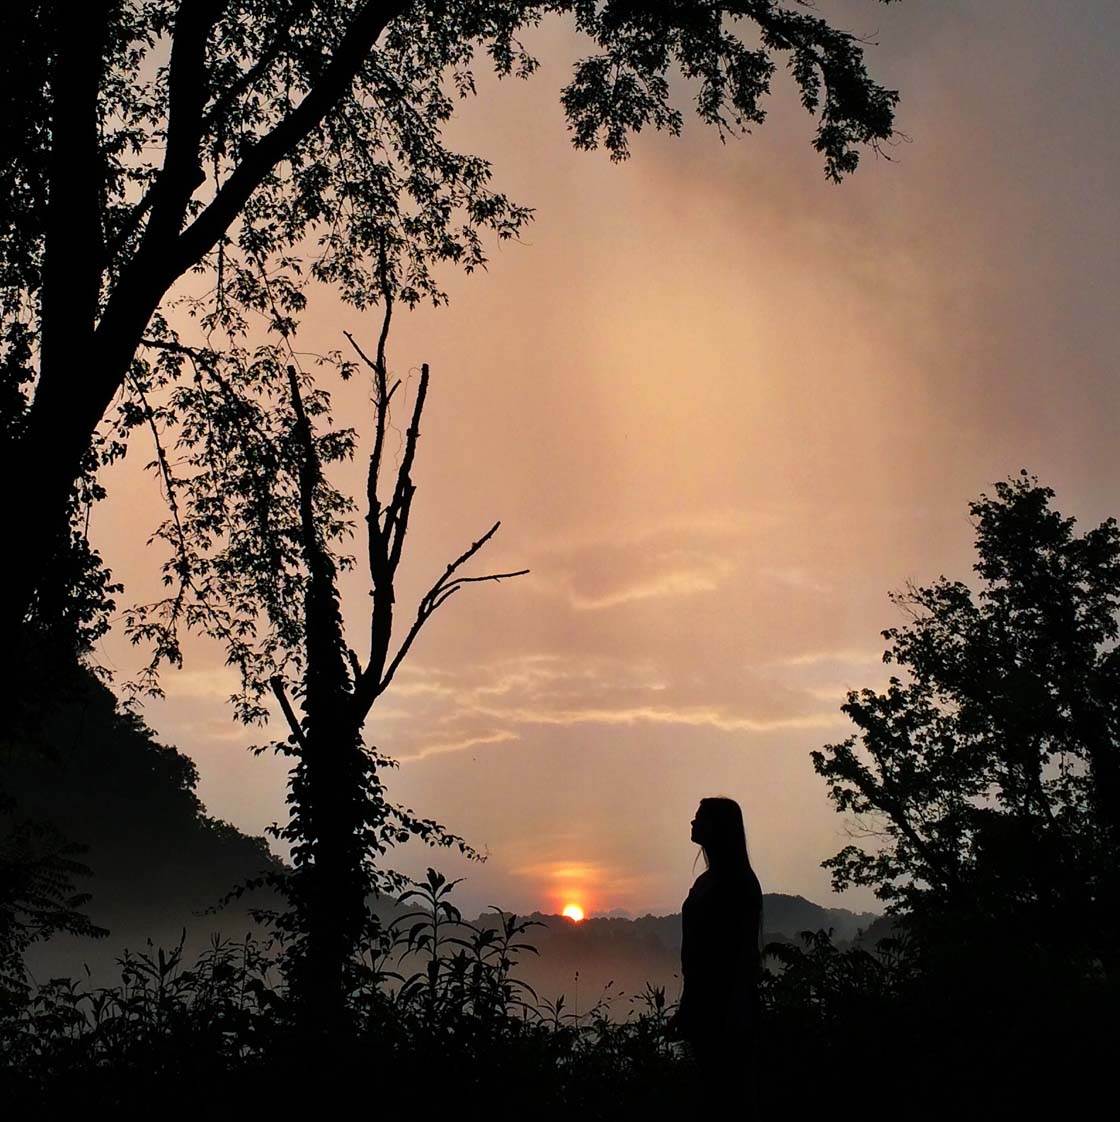
Using objects in nature to frame the scene is a great way of drawing attention to your main subject. Tree branches in the foreground make excellent frames. The frame could just be along the top of the image, or it can be around several sides as shown in the image above.
Try using negative space to emphasize your subject. Negative space means that there is a large amount of empty space, such as a plain background, with the subject (positive space) placed somewhere within that area.
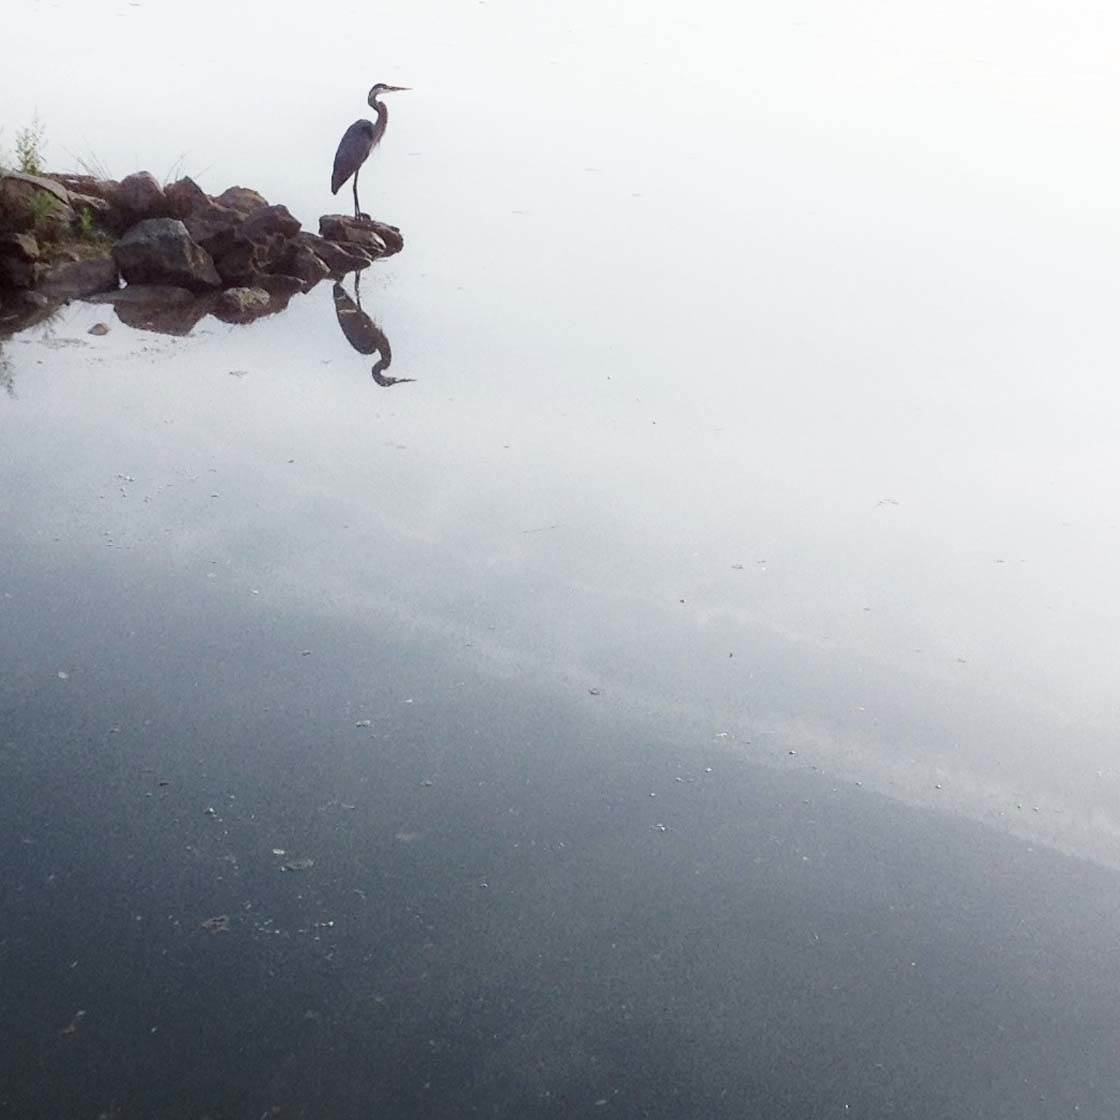
Using negative space isolates your subject, creating a very strong focal point in your image. In this photo, the grey heron isolated by the large expanse of water creates an interesting composition with the emphasis on the bird.
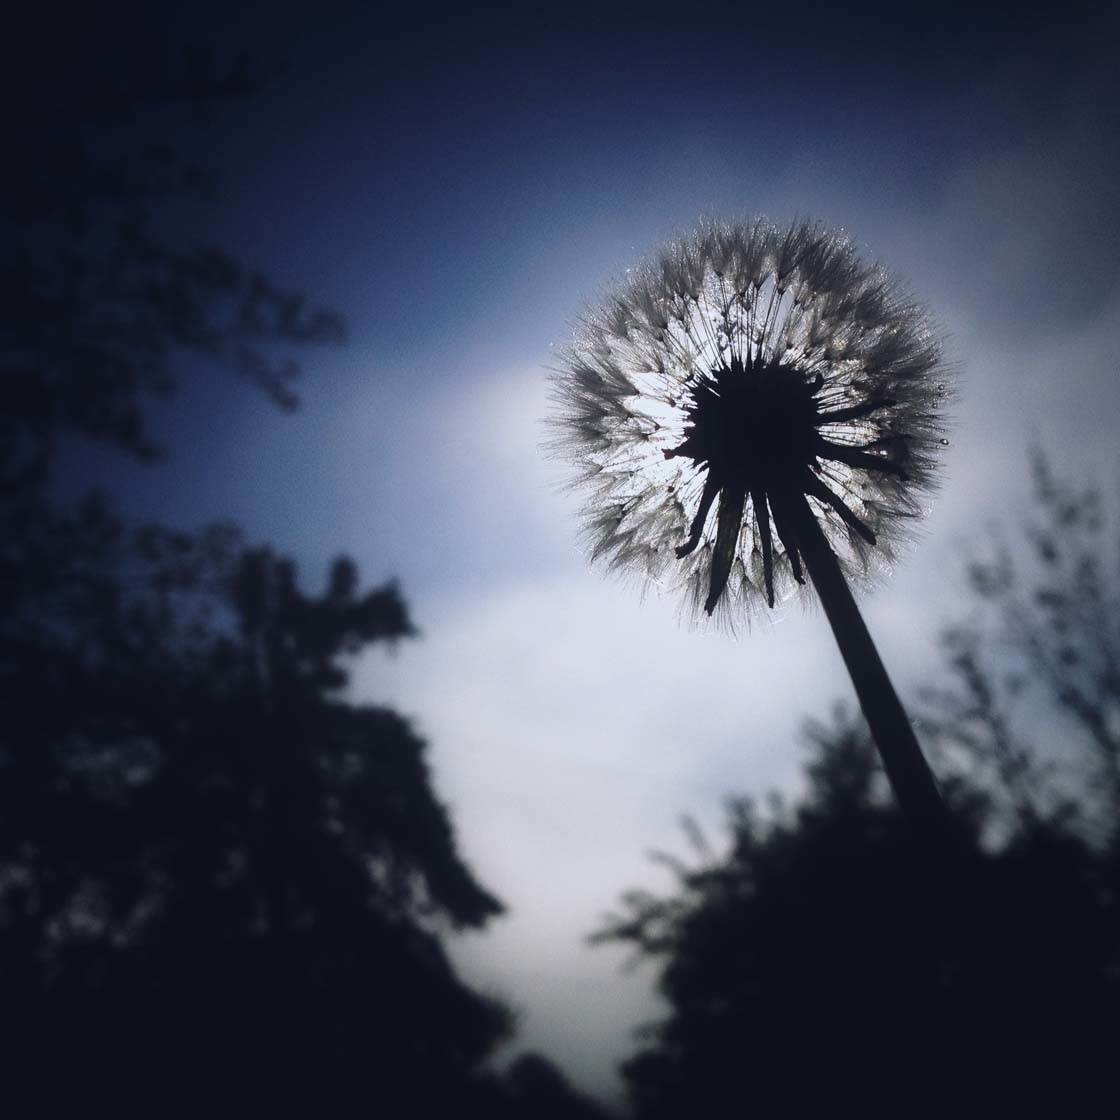
Also, think about photographing your subject from a different perspective or angle. Shooting from a very low angle is a great way of showing your subject from a perspective that you wouldn’t normally see.
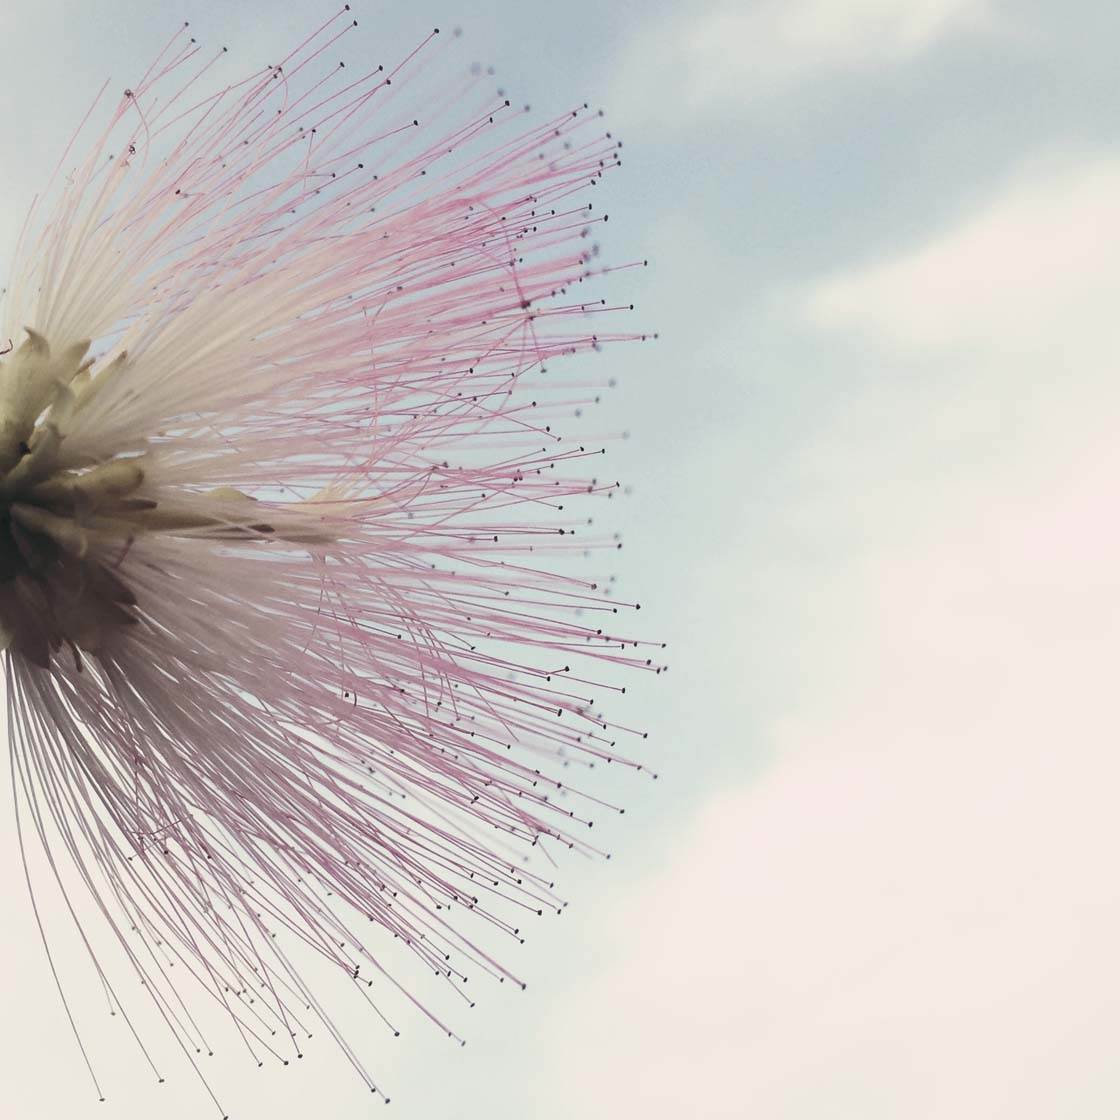
For example, you usually look at flowers from above, but by shooting this flower from below I’ve managed to show detail that you wouldn’t see from standing height. It also allowed me to use the bright sky as a background which makes the delicate details of the flower stand out more clearly.
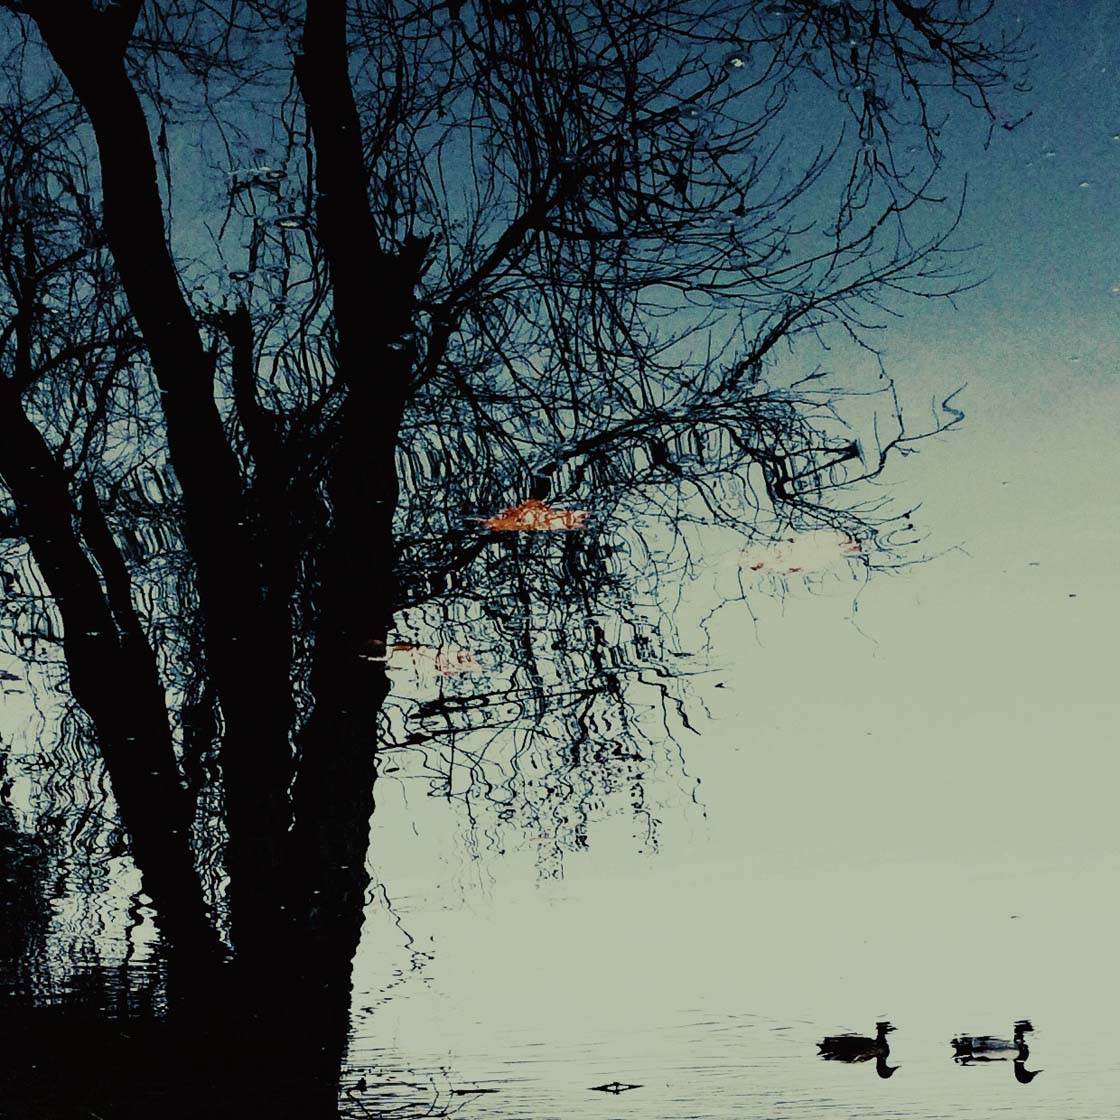
If you see a beautiful reflection, you might find that flipping the photo in post-processing creates a more interesting composition. This can add mystery and intrigue to your image, and the ripples in the water create a beautiful painterly effect.
7. Use The Sky As A Background
One of the problems with nature photography, especially when photographing small objects near to the ground is that the backgrounds are often cluttered and dark. This can make it difficult to get your main subject to stand out against the background.
A great way of getting around this problem is to shoot from a very low angle so that the sky becomes the background behind your subject. You may need to get very low, and by this I mean lying on the ground – but it’ll be worth it for the great shot that you’ll end up with!
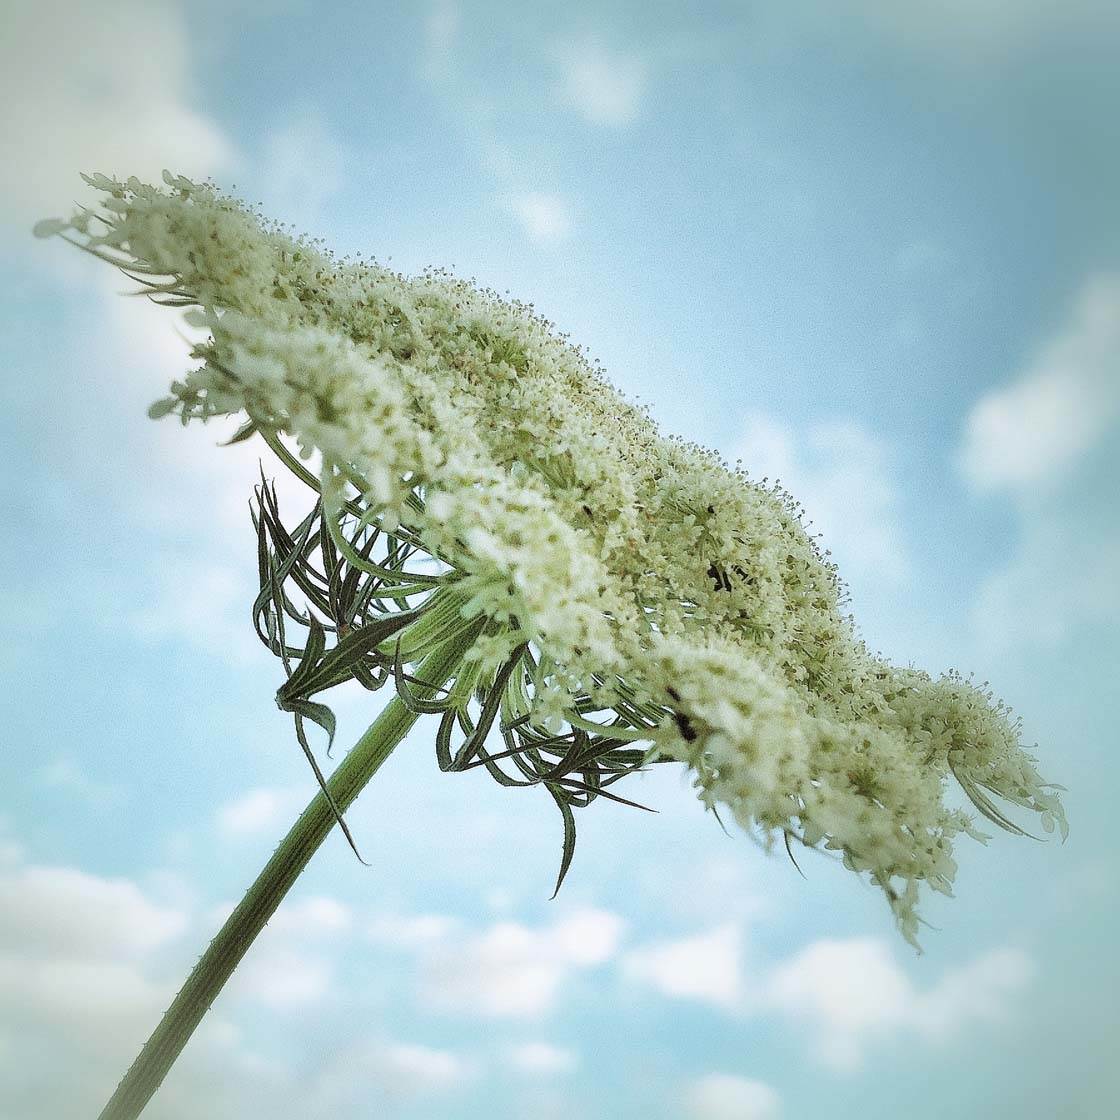
A beautiful light blue sky with white fluffy clouds makes the perfect background for this flower. By shooting from a low angle I’ve managed to isolate my subject as well as showing it from a perspective that you wouldn’t normally see.
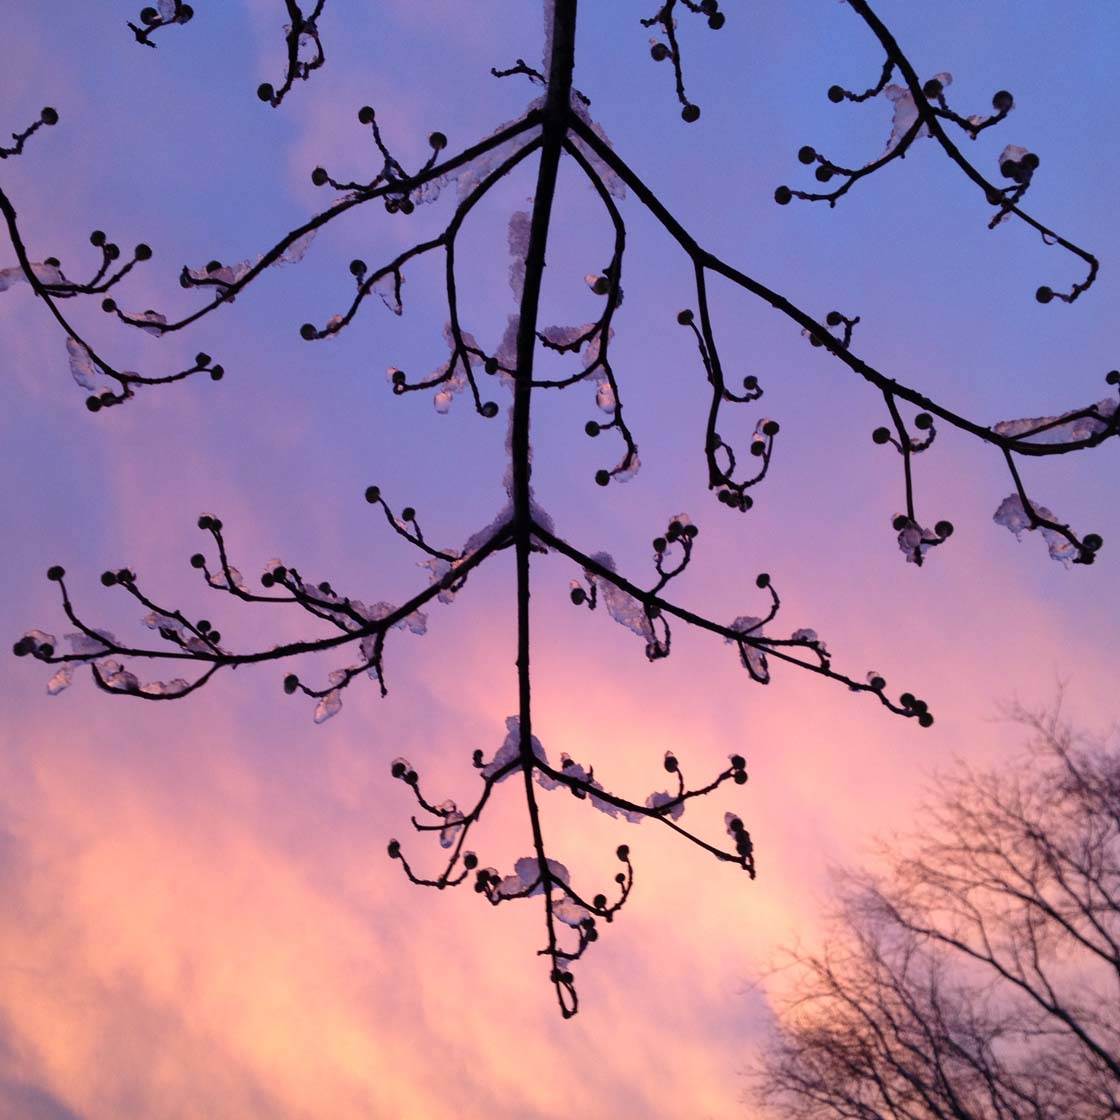
Sunrise and sunset produce amazing colored skies which make perfect background for your nature shots. By shooting directly up at this branch, and then exposing for the sky, I’ve created a lovely silhouette while the light highlights the ice clinging to the branches.
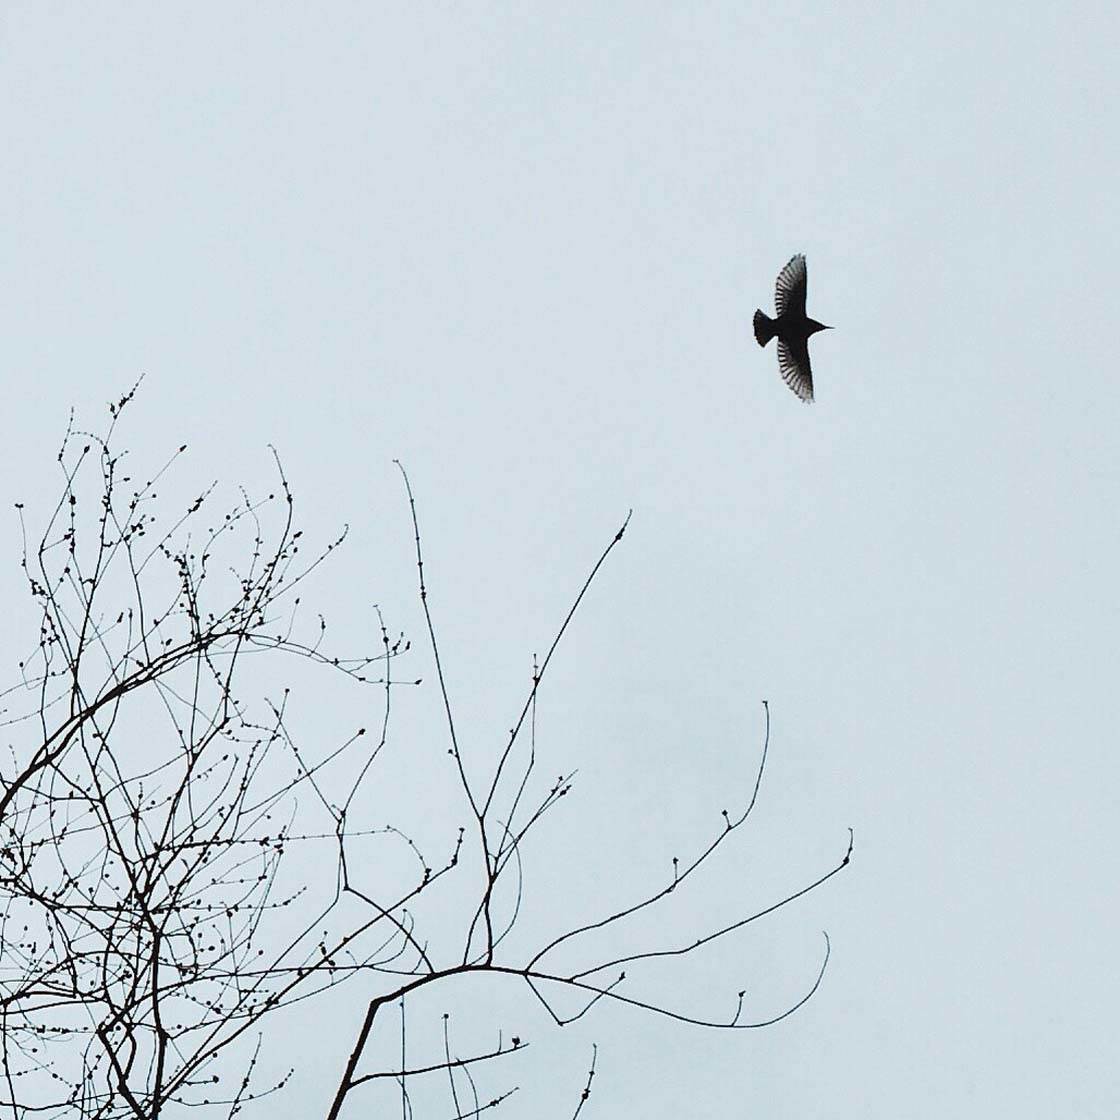
Photographing birds in flight from directly beneath them can also create some dramatic effects. Notice how beautiful the wings of this robin look against the blue sky.
8. Create A Sense Of Depth
One of the problems with shooting landscapes is that the image can appear very “flat” and you don’t get a sense of depth or distance. A great way to create a sense of depth is to include natural objects in the foreground. This gives the viewer something to focus on in the foreground before their eye moves to the scene in the distance.
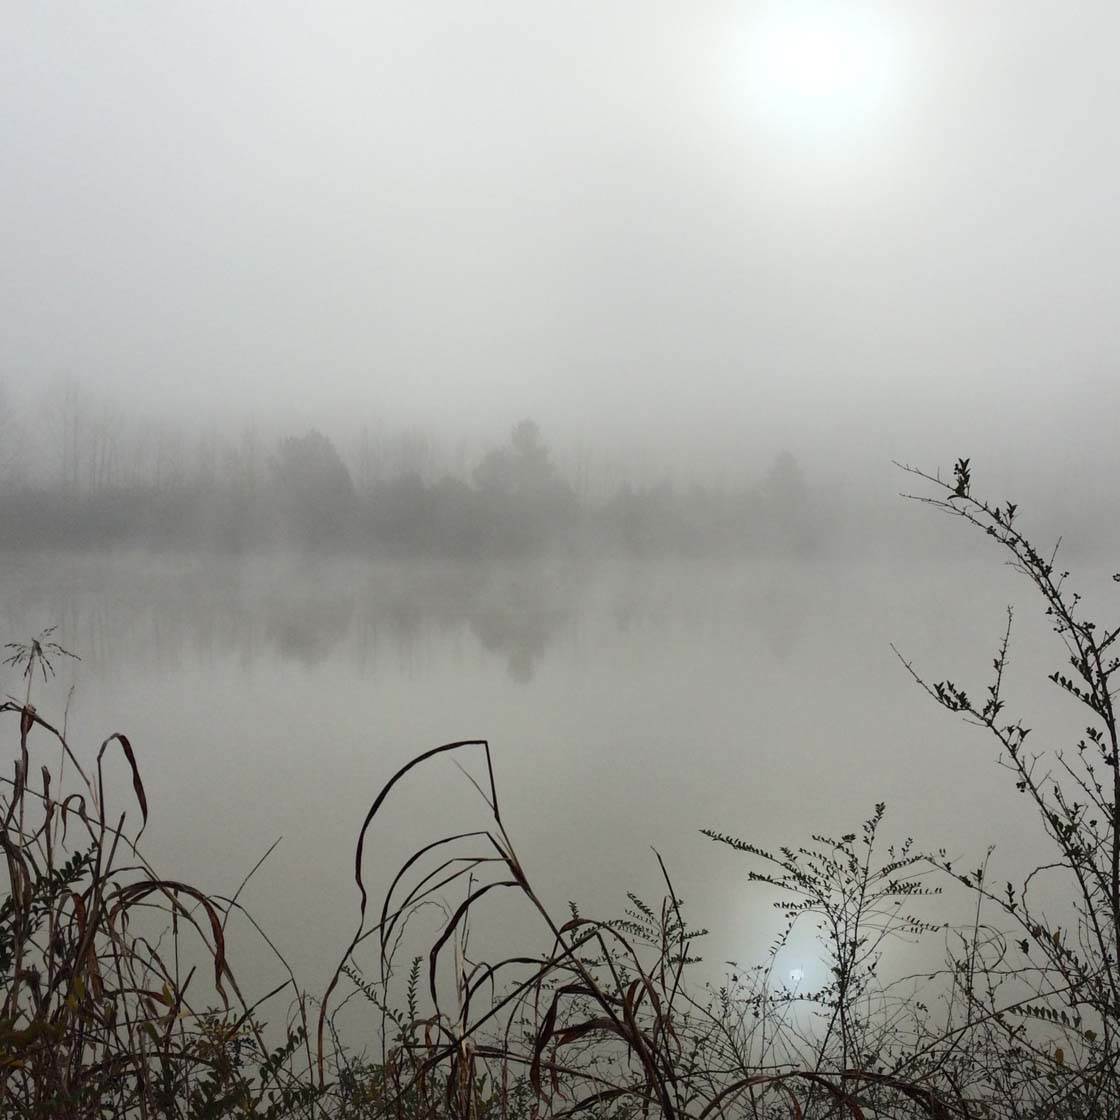
Object such as rocks, trees, animals or plants that are close to the camera make great foreground subjects. As well as creating depth, they also make your images more interesting and provide a focal point, especially when photographing faraway mountains or other landscape features.
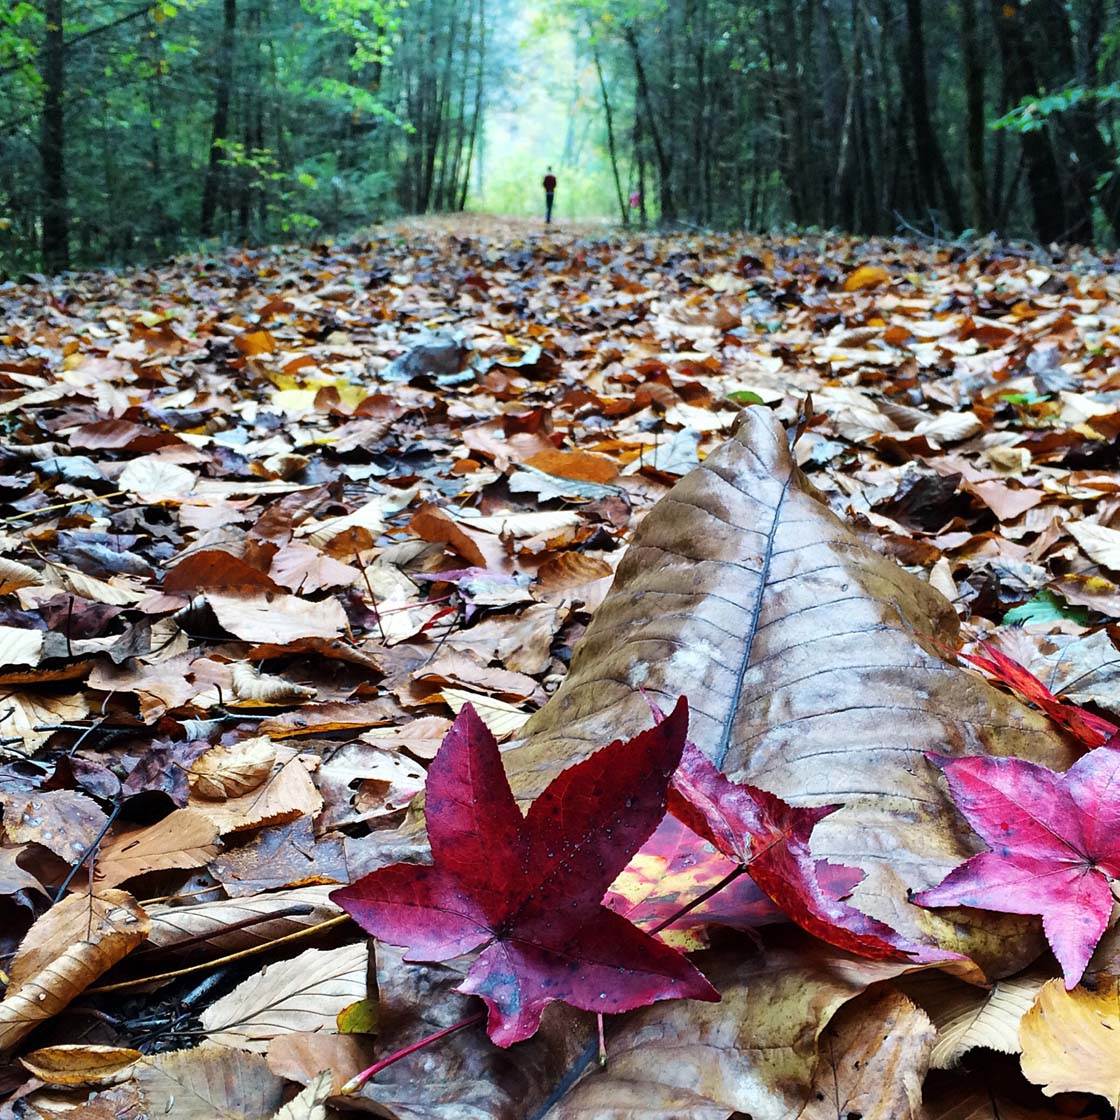
Shooting from a very low angle to get these colorful leaves in the foreground have helped create a sense of depth, making the tiny human figure in the distance seem a very long way away.
9. Use Burst Mode For Moving Subjects
Moving subjects such as birds, butterflies, or any animal that’s on the move, can be very difficult to photograph. By the time you’ve pressed the shutter button, the subject may already be out of the frame or you’ve captured them but not at the right moment.
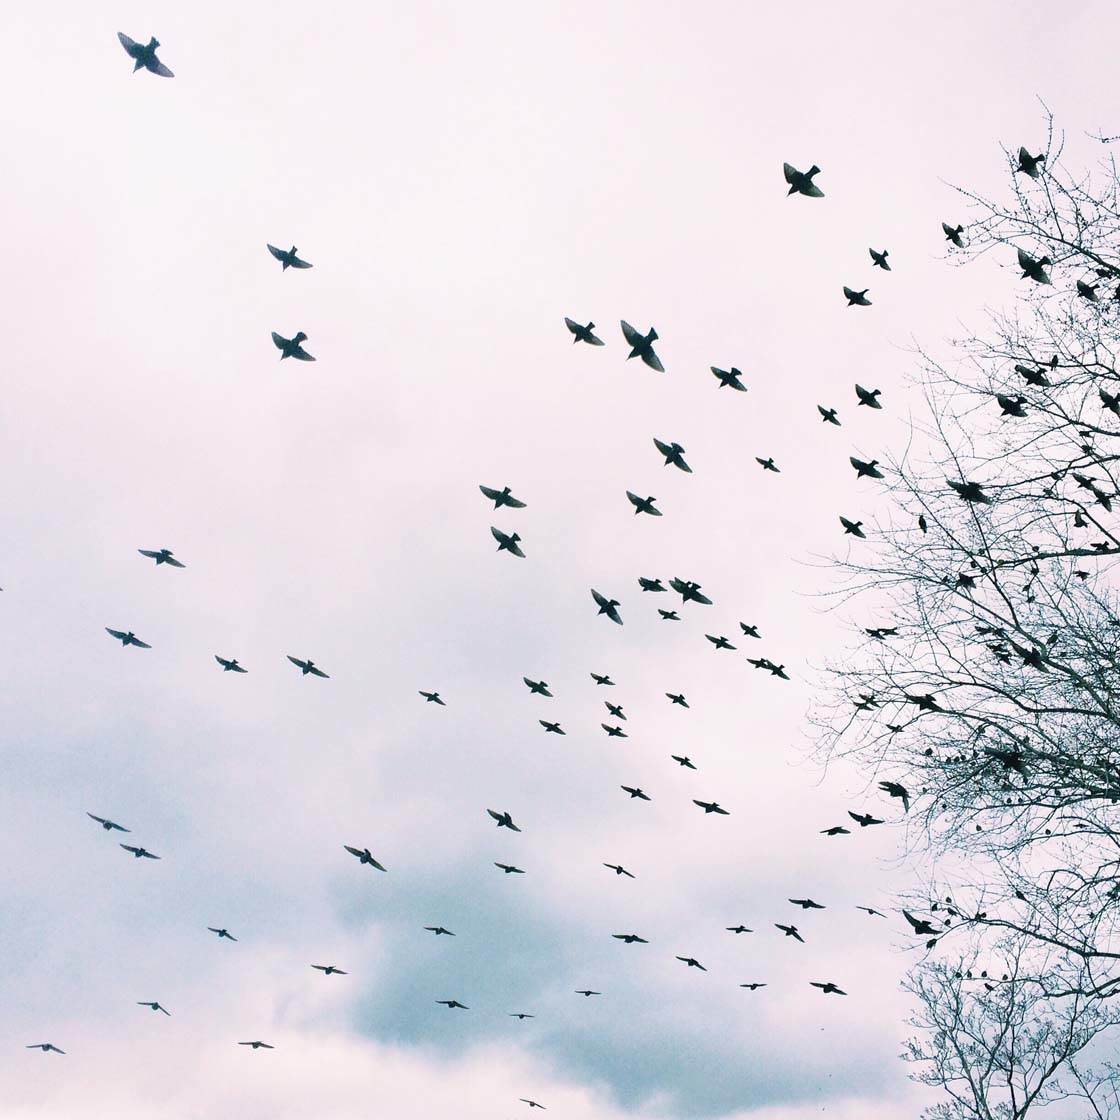
Using the Burst Mode setting in the native camera app gives you the best chance of capturing the perfect shot when photographing moving subjects.
Once you’ve framed your shot, just press and hold the on-screen shutter release button with your finger. This will give you multiple shots of the same subject and plenty of choices when deciding which photos are most in focus. Save one or two of the best and just delete the rest.

Another problem that you can get with animals is that if they’re moving too fast, they may just appear as a motion blur in the image. This can be especially common in low light situations where your camera has to use a slower shutter speed to achieve the correct exposure.
The rule of thumb with motion blur is that the brighter the ambient light, the faster the camera’s shutter speed will be. Fast shutter speeds freeze motion so you’ll get nice crisp shots of moving subjects if you’re shooting in bright light.
But if you’re shooting moving subjects in low light, you may struggle to get a shot without motion blur. In this situation, always use Burst Mode in the hope that at least one of the shots will have the subject in focus.
10. Be Patient
When photographing nature, you have to be patient. You must be willing to wait, watch or go where an interesting subject would be located. If you’re waiting for an animal to appear in a location where you can photograph it, keep still and quiet so as not to frighten it away.
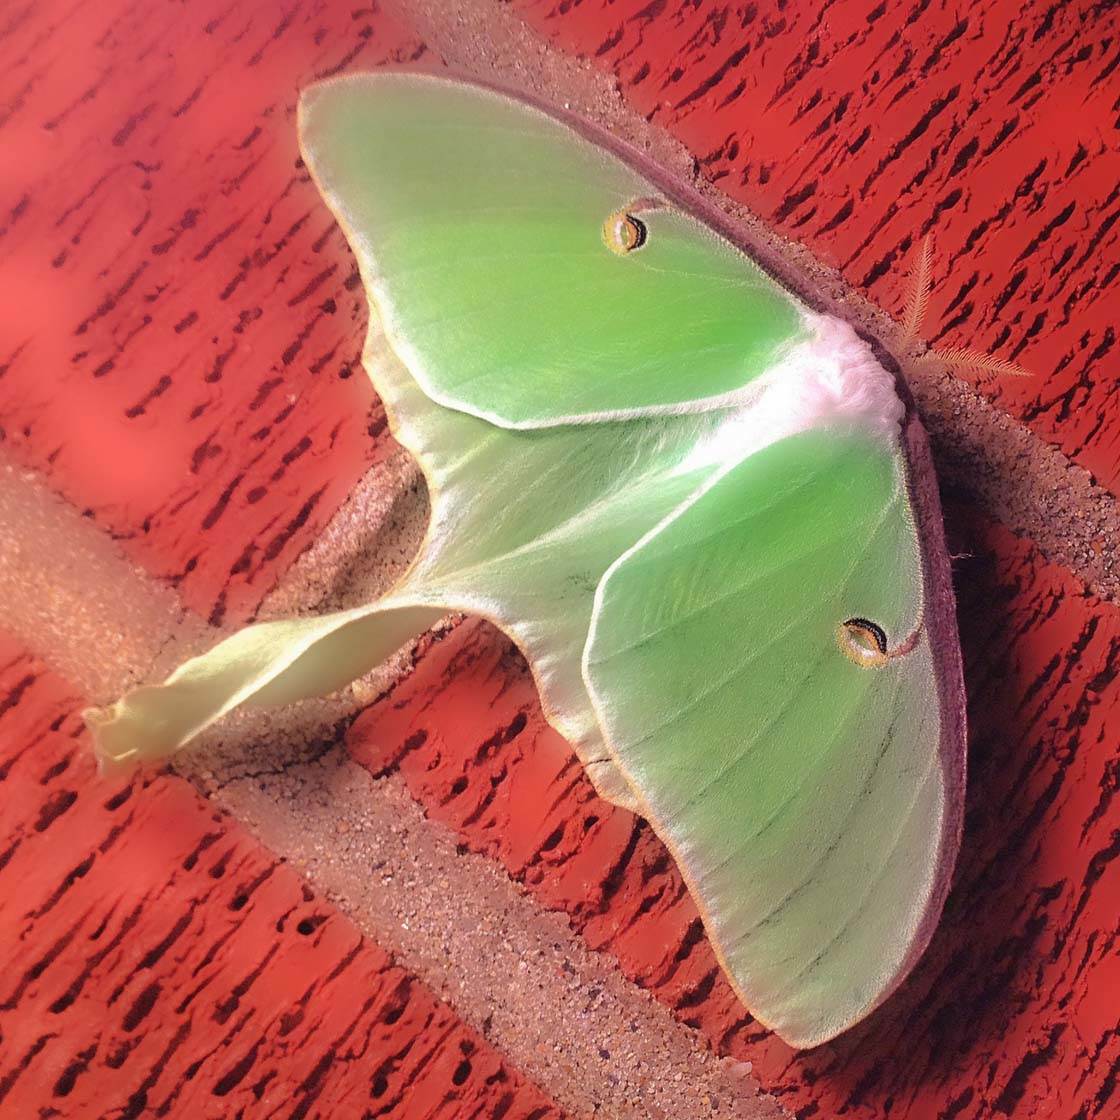
I’d spotted this beautiful green moth flying around outside, but it was impossible to get a good shot of it in the air. I knew that it would land at some point, so I waited and quietly watched it for a while. Eventually it landed on this red brick wall which made the perfect background with its vivid contrasting color.
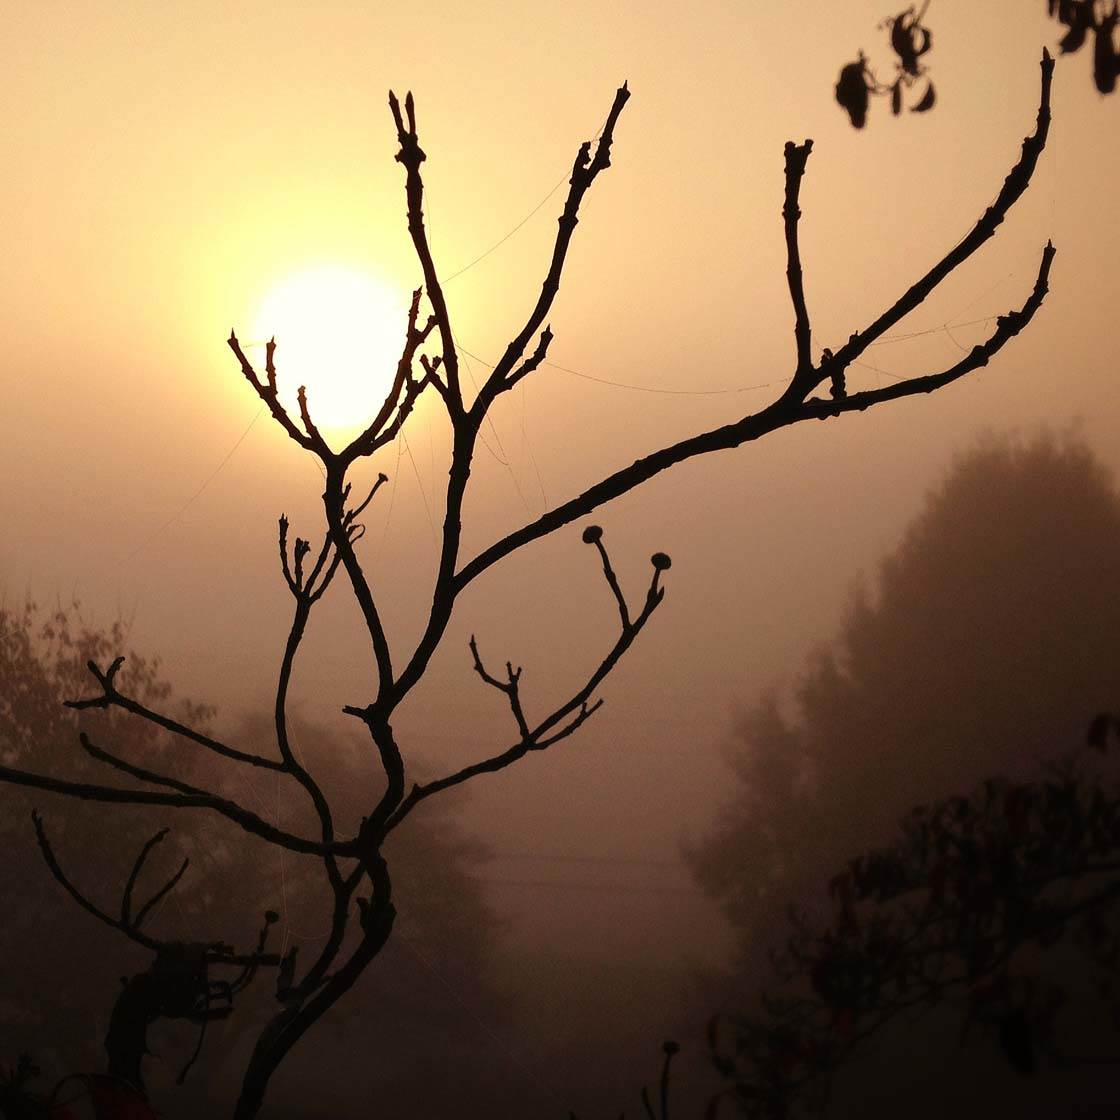
As well as waiting for your subjects, you often need to wait for the right light. When I came across this branch covered in cobwebs I thought it would make an interesting photo if I positioned the sun in the cup of the twigs. So I waited until the sun was setting, and snapped this shot when the sun was just in the right position.
11. Edit Carefully
Let nature speak for itself. Over-saturating and over-processing your images just seems to destroy what natural beauty is already there. Over-editing is a common mistake that many beginner iPhone photographers make, especially in landscape and nature photography.
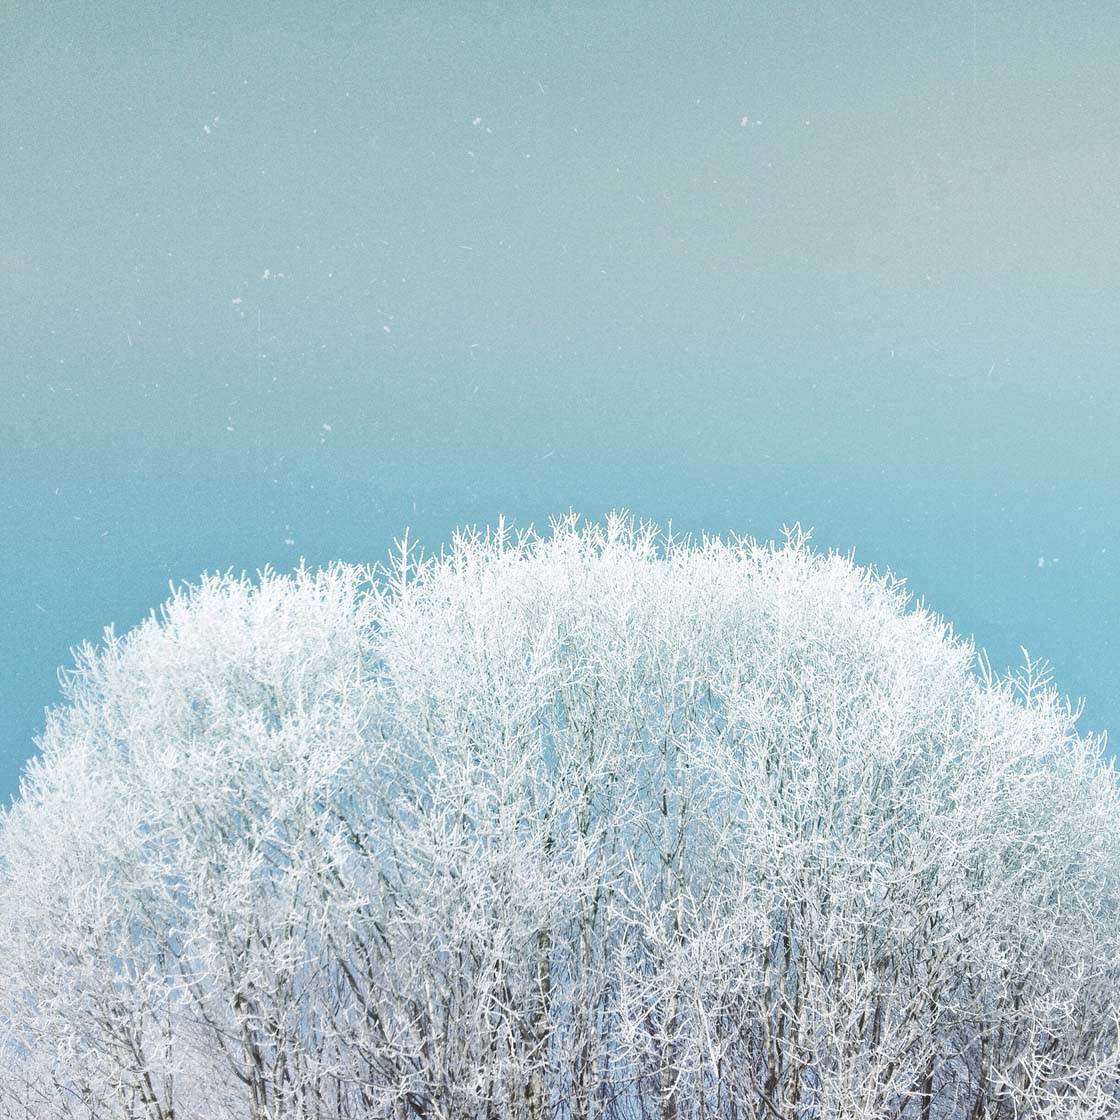
If you do decide to edit your photos, Snapseed is a great app (check out our Snapseed tutorial). Use the “Tune Image” tool to make subtle adjustments using the six different options: brightness, ambience, contrast, saturation, shadows and warmth.
Only use adjustments that will enhance the image. Don’t go crazy with filters and effects – it’s unlikely to add to the beauty of your scene and is more likely to ruin the photo.
The idea with nature photography is that you’re capturing the natural beauty of your surroundings, so always keep this in mind when editing your photos. Less is more when it comes to image editing.


Great tips and photos
Thank you very much!!
Wow! This is fantastic Tips/Photo.
Thank you Karyn
Great tips, stunning photos. Thanks, Karyn.
Wow! Amazing article and photos! I’m experimenting with nature-macro shots myself and this is truly inspiring. 🙂
Thank you for these amazing tips and for your patience to put them into right words!
Thanks for this fantastic tutorial Karyn. These stunning nature photos are so inspiring!
Thanks for sharing your tips Karyn.
Such stunning photos, totally jealous here…;-)
hi karyn you’re really my favorite
I just got my iPhone and reading your post. Will try this 🙂
Thank you Karyn. Great article, tips and stunning photos. Is inspiring for me (beginners) to have more confidence in exploring photography.
Great Tips. Thank You